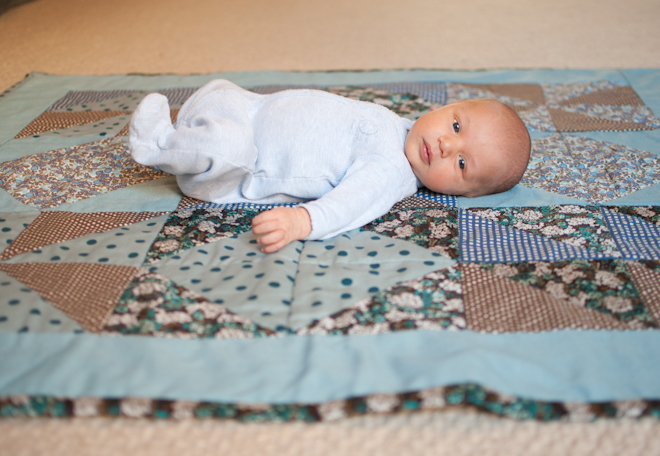
Before my nephew was born, in January, I knew I wanted to make him a special gift. I decided on a small quilt -- the kind you can throw on the floor for them to play on during their first year, and then use as a crib blanket when they are old enough to have one.
I was reading The Purl Bee and was inspired by the play of triangles in these coasters. After reading the how to I decided to go ahead and use some triangle motifs in a palette of blues and browns. Once my squares were made I had a lot of fun rearranging them into as many patterns as I could come up with. In the end I decided to go with this:
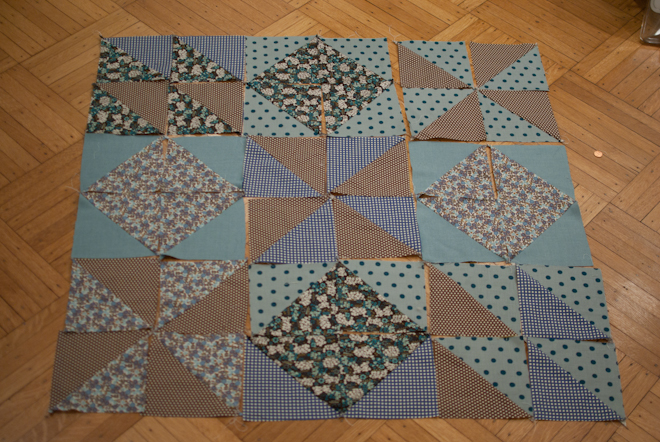
The next step was to sew all the squares together. I decided that since some of my larger squares were a pinwheel design that my best bet was to sew the 9 larger squares next. This way I would be sure that the points in the center would all line up.
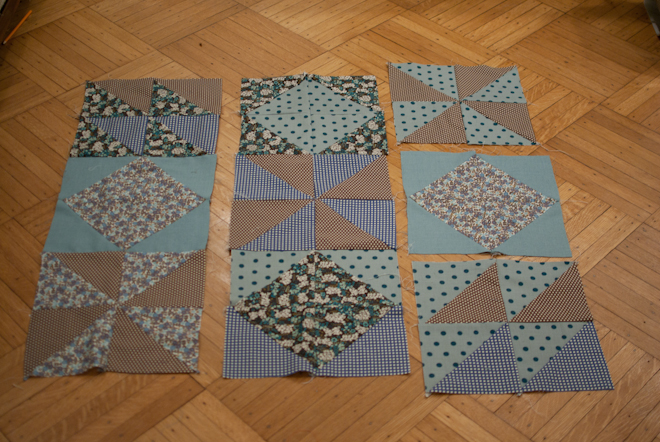
Once these squares were sewn I rearranged them a couple more times to be sure that I had the best arrangement. Once I was sure I went ahead and sewed them together - first making 3 columns, and then sewing the columns together to make the large square.
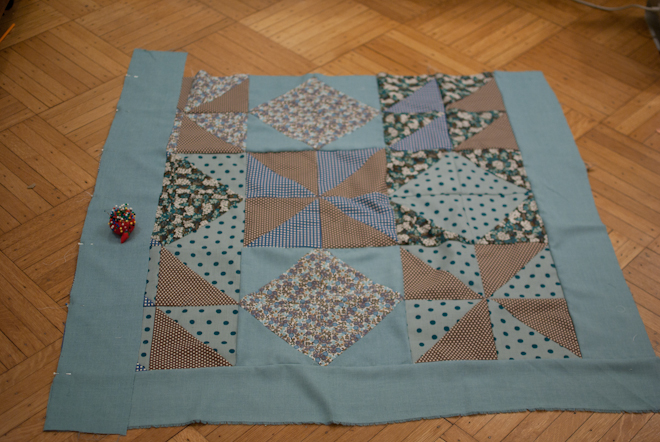
Next I cut long strips of the solid blue fabric to make the border. Once the top is completed it is time to layer the it with a layer of batting and a square of fabric for the back. This is always my least favorite part of making a quilt since getting all the layers smooth before you pin them together is really crucial.
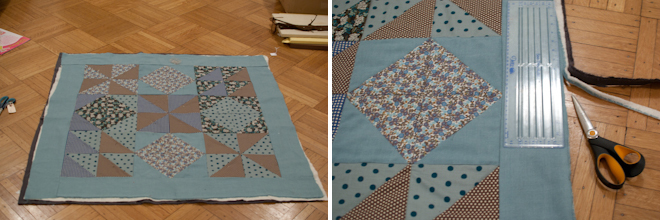
Once the layers are pinned together thoroughly you sew them together -- I started by sewing from the center out towards the edges, working in all directions. This helps to prevent the layers from shifting which can result in unatractive puckering along the seams. After the layers are sewn together you need to trim the entire thing to be square (or square the sides even if the quilt is a rectangle). After trimming the edges I went back in to each square and sewed along all the seams...this is called the "stitch in the ditch" method.
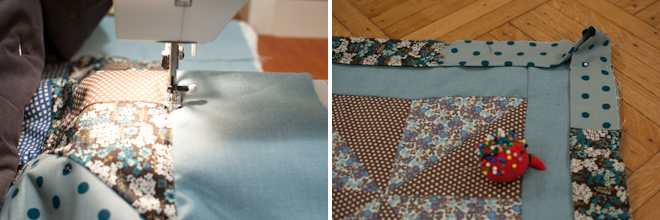
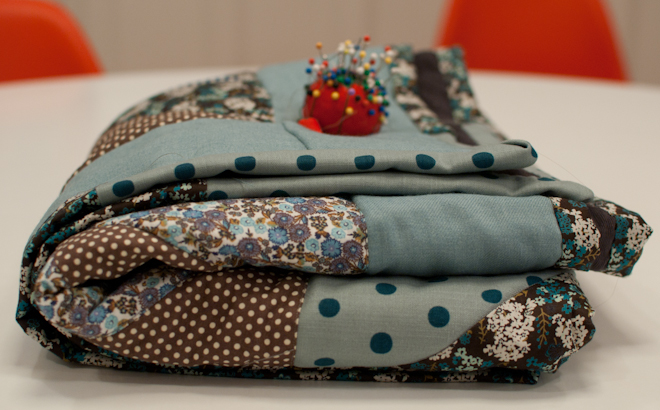
The last step is to make a binding for the quilt. My friend Joelle's book, Last-Minute Patchwork + Quilted Gifts, has a tutorial for how to make the binding that I refer to everytime I make a quilt. Many people dread this part of quilt making but I love it -- it transforms the sometimes still slightly messy looking project into a very finished peice. And there is something about that little bit of hand sewing that I really love.