I accrued quite a large stash of fabric when Lauren and I had our business, mr.tiny. Between leftovers after manufacturing, samples that never made it into the line, and remnants that I found here and there, the piles grew and grew. My ideas of what to do with all this fabric are always changing...one year I decided to make a quilt for my grandmother (who taught me a lot about sewing and knitting), another year I made pillow cases and gave them to everyone for Christmas. At another point I started hunting for easy children's clothing patterns, thinking maybe one day I'd be able to make our samples. In addition to the random things I make each year, the most frequent reason to head for the sewing machine is to make a baby shower gift or 1st birthday present.
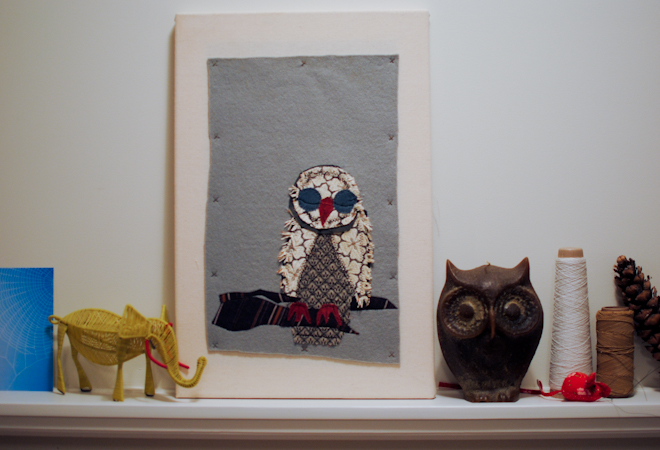
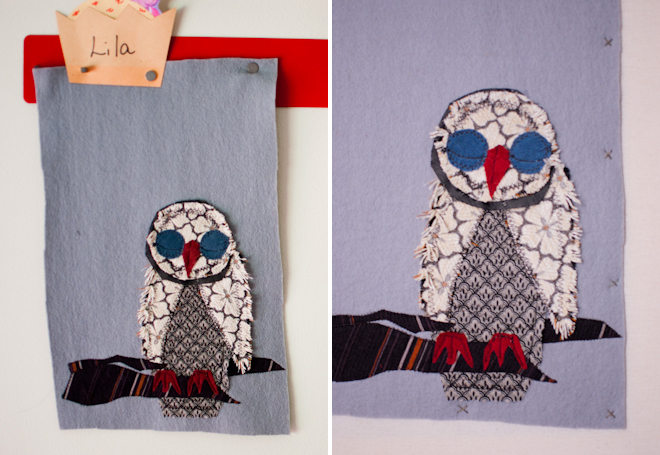
This owl applique was one of the projects that came from that stash. It was very fun and quite simple to make...it also allowed me to use some of the more patterned and textured fabrics that I am always drawn to but never quite know what to do with. First I looked through images of owls so that I could come up with a simple sketch. Then I looked through the remnants of fabric, looking for anything vaguely feathery. I decided frayed edges would add to the effect, simplifying the idea even further.

Lauren loved the finished piece so I gave it to her to hang in Lila's room. When Noah was born she decided maybe it would move to his room...an animal theme has evolved there, inspired in no small part by Noah's Ark. After having it hanging on a magnetized bar in Lila's room for years, we felt it was time to frame it so it could be hung on the wall. It seemed that framing it behind glass would detract from the homemade feel of it so I decided to sew it to a stretched canvas. I found this link to learn how to stretch canvas over a frame. Because of the small size of the piece it was easy to do--it only took about 10 minutes.
Once the canvas was stretched I had to figure out how to attach the applique to it. In keeping with the rustic look I opted to use a very simple and visible x stitch. I must admit, I am pleased with the end result.