Entries by eclecticmom.com (250)

Sunday
Mar202011

crispy flounder


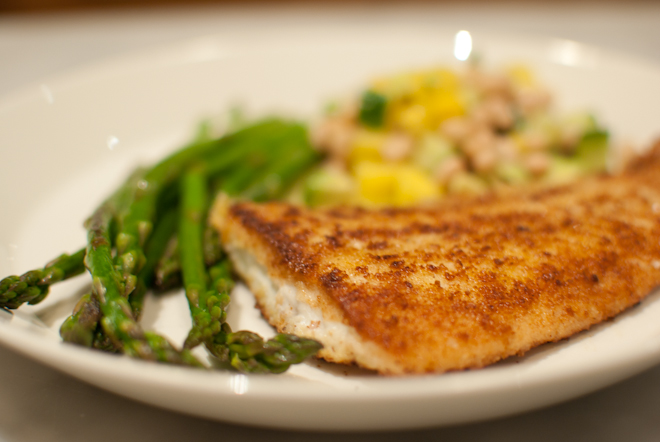
Flounder is one of my kids favorite fish and this preparation is so simple. I dip the fillets in a lightly beaten egg, then dip it in panko breadcrumbs that I season with some salt. I use a mixture of butter and olive oil in the skillet - the butter adds a lot of flavor and the olive oil prevents it from getting too brown. It only takes a few minutes on each side so prepare the side dishes before starting the fish. Here I served it with a white bean salad and roasted asparagus.

Sunday
Mar202011

baby quilt 


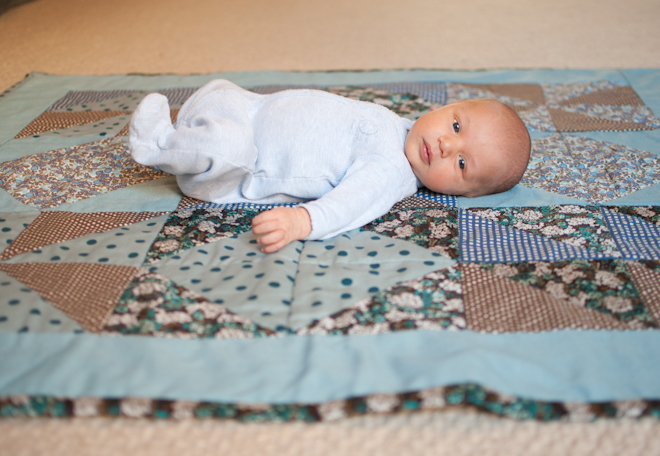
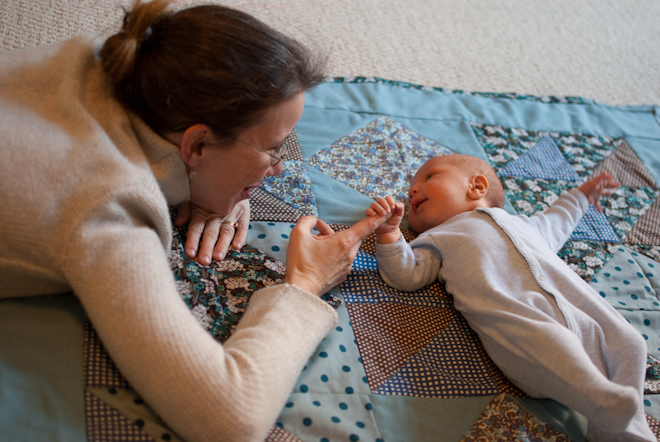
Before my nephew was born, in January, I knew I wanted to make him a special gift. I decided on a small quilt -- the kind you can throw on the floor for them to play on during their first year, and then use as a crib blanket when they are old enough to have one. 


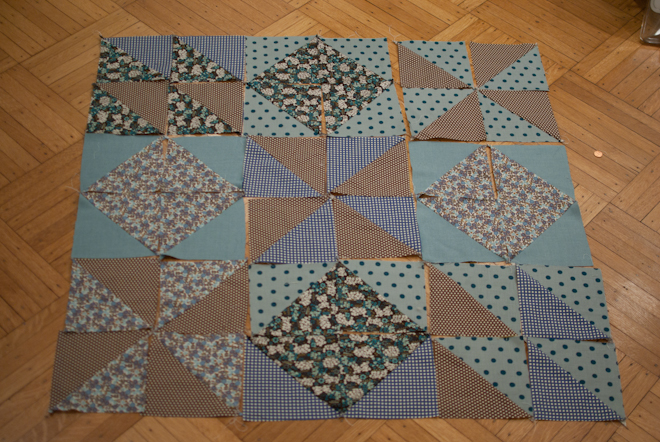
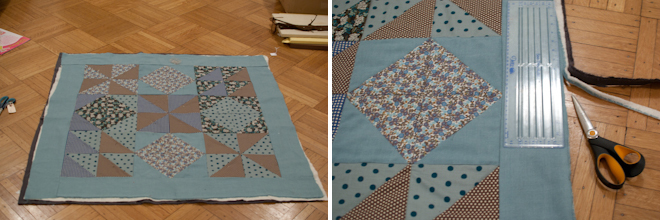
I was reading The Purl Bee and was inspired by the play of triangles in these coasters. After reading the how to I decided to go ahead and use some triangle motifs in a palette of blues and browns. Once my squares were made I had a lot of fun rearranging them into as many patterns as I could come up with. In the end I decided to go with this:


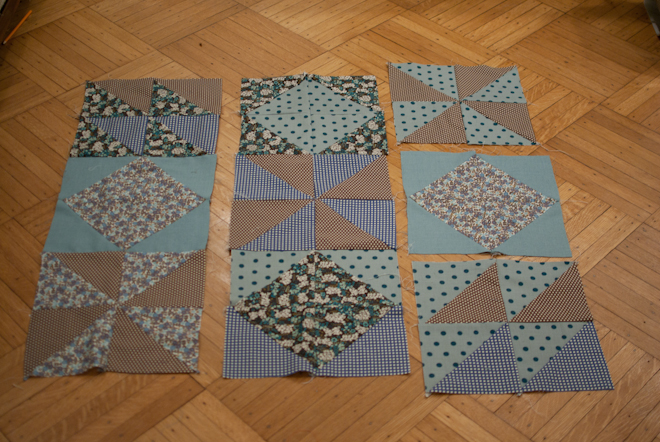
The next step was to sew all the squares together.  I decided that since some of my larger squares were a pinwheel design that my best bet was to sew the 9 larger squares next. This way I would be sure that the points in the center would all line up. 


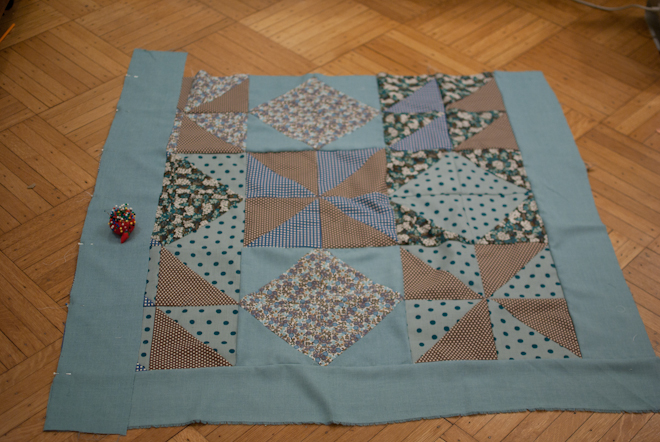
Once these squares were sewn I rearranged them a couple more times to be sure that I had the best arrangement. Once I was sure I went ahead and sewed them together - first making 3 columns, and then sewing the columns together to make the large square.


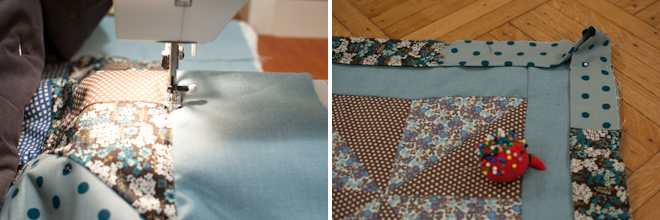
Next I cut long strips of the solid blue fabric to make the border. Once the top is completed it is time to layer the it with a layer of batting and a square of fabric for the back. This is always my least favorite part of making a quilt since getting all the layers smooth before you pin them together is really crucial. 


Once the layers are pinned together thoroughly you sew them together -- I started by sewing from the center out towards the edges, working in all directions. This helps to prevent the layers from shifting which can result in unatractive puckering along the seams. After the layers are sewn together you need to trim the entire thing to be square (or square the sides even if the quilt is a rectangle). After trimming the edges I went back in to each square and sewed along all the seams...this is called the "stitch in the ditch" method.  


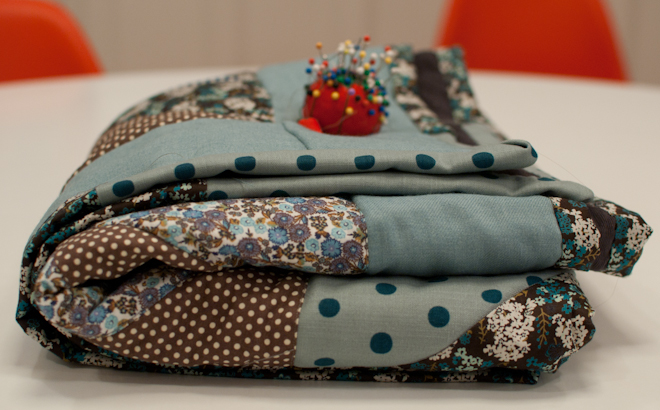
The last step is to make a binding for the quilt. My friend Joelle's book, Last-Minute Patchwork + Quilted Gifts, has a tutorial for how to make the binding that I refer to everytime I make a quilt. Many people dread this part of quilt making but I love it -- it transforms the sometimes still slightly messy looking project into a very finished peice. And there is something about that little bit of hand sewing that I really love.


Sunday
Mar202011

"homework"


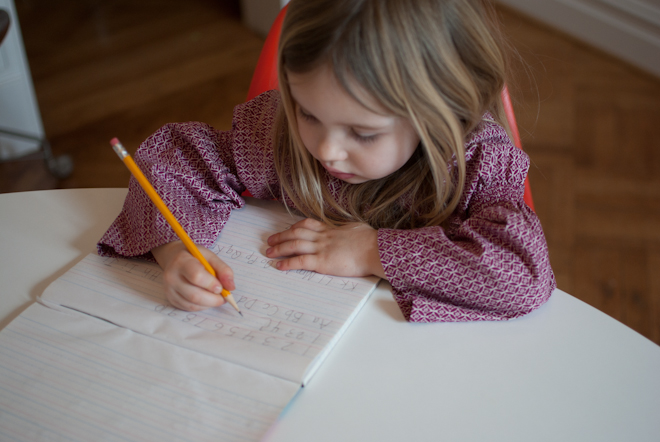
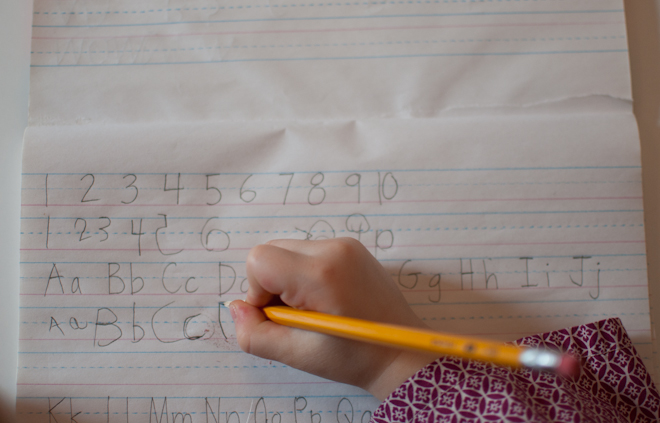
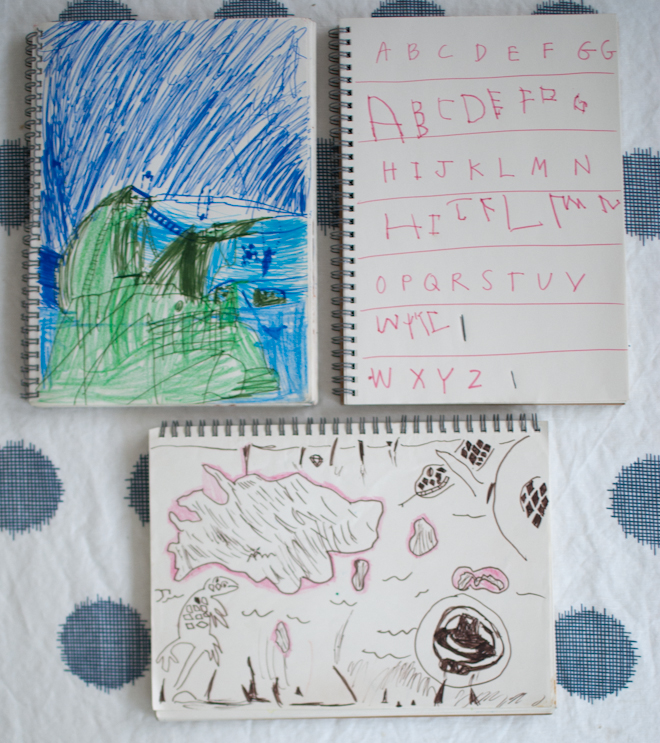
Now that the boys have homework 4 days a week, my daughter is often looking for something to do during that time. I bought her a book of lined paper and she loves to practice her writing. Whether it is the alphabet, a string of numbers, or a couple short sentences, she loves having "homework."


Thursday
Mar172011

cardboard castle


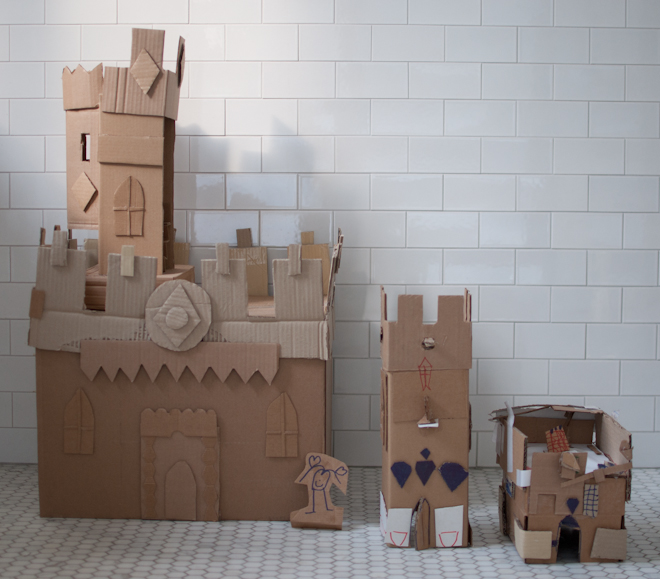
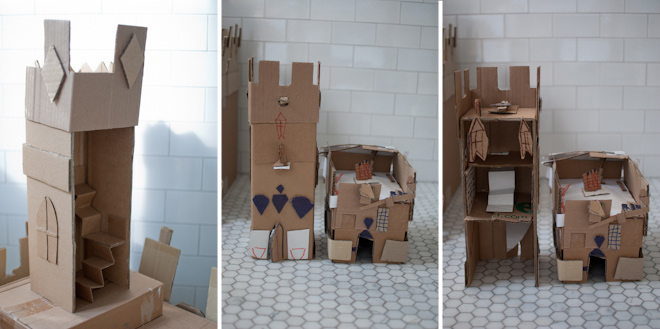
I am a huge fan of Ann Wood and have one of her small birds in my collection. Recently I was looking at her blog and discovered the most stunning cardboard castle. I knew I could never rival her artistry, but thought I could have fun trying to create a castle with my kids…the kids wholeheartedly agreed!

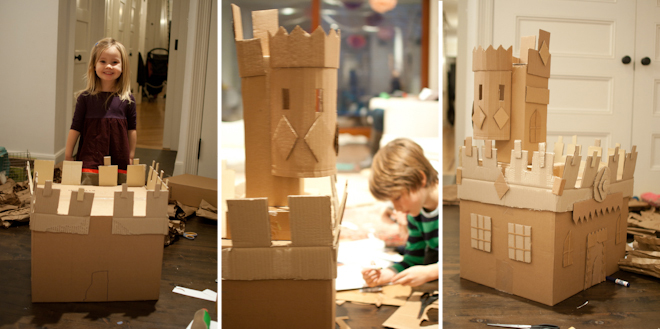
Being a bit of a control freak I had to do a little deep breathing as my kids tore into the supplies and immediately wanted to (gasp) color on the cardboard with magic markers! Once I recovered, and calmly encouraged them to think about a more purist approach, we agreed on a compromise: we could all glue things to the large castle but would try to keep it marker free…then the boys each did a smaller building that they got to art direct all on their own.


I love the final results and we spent 2 whole afternoons working on the project. By the way, this in one idea that really benefits from a glue gun--you avoid the messy drips of regular white glue and the hot glue sets quickly so you do not have to hold it for a long time at all to get it to stick. The kids think the glue gun is an exciting power tool but do be careful…it is really really hot so little kids probably should not touch it at all.


Thursday
Mar172011

"felties"


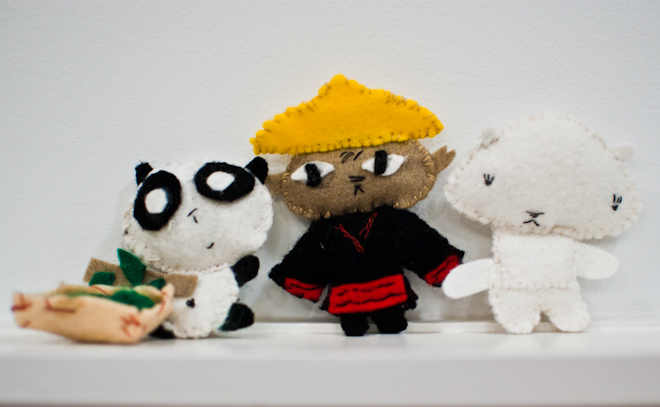
A few days before halloween I stopped by our local fabric store to get some costume making supplies. My kids were with me and my son Oliver begged me to buy the book Felties. Of course, we had no time to be making little dolls with three kids in need of costumes, so the book got buried in one of the piles in my work room. During the kids school holiday Oliver found the book and started begging me to sew with him. I let each child pick one idea from the book - Oliver chose the Panda, Owen chose the Samurai, and Bea chose the Polar Bear (most likely because it had a baby). I realized quickly that helping all three at the same time would prove challenging so I scanned the pages for each project and printed them out. As I was trying to figure out the best way for the kids to copy the patterns I remembered my friend Jodi's story on applique in Martha Stewart Kids…she suggests freezer paper as a tool in that story and sure enough, it was the perfect solution here too. The kids could easily trace the patterns onto the freezer paper and then we ironed the freezer paper to the felt. It sticks so you can cut along the lines of the paper--then you just peel the paper off the felt and you have perfectly cut pieces. The boys managed to do much of this on their own once I helped get it organized. Bea's role was more spectator than anything else but she seemed perfectly happy nonetheless. Although I have tons of embroidery floss that I have collected over the years (while never actually learning to embroider) I did not have any that matched our felt. We found that plain old thread worked just fine. We made a few other adjustments along the way too…the pieces that were meant to be glued did not seem secure enough so we sewed a few stitches through them too. We also ran out of steam before making the baby polar bear but luckily Bea was ok with that too. Oliver was the most committed to the project…once his panda was done he asked for a few more scraps of felt and whipped up a little basket of leaves for him to eat too! All in all, it was a great way to spend half a day inside on a very cold day!

Thursday
Mar172011

thai coconut curry


Inspired by the delicious flavors of Tom Kha Gai Soup, I wanted to make a dish hearty enough to be a complete dinner. This broth is quite versatile...I used ingredients that my family enjoys but I have tried many variations: You can substitute shrimp or tofu for the chicken, try fingerling potatoes instead of sweet potatoes, or add broccoli, spinach, or green beans. One thing I have found is that sauteing the green vegetables separately ensures that they are cooked the way I like them - with a little bite. However, if you prefer to keep the dish washing to a minimum you can just add them to the broth for the last few minutes of cooking. I often make some brown rice and stir that in when serving.


FOR THE BROTH

1 32 ounce box chicken stock (about 4 cups)

2 cans coconut milk

1 3-inch piece ginger, peeled and thinly sliced

2 stalks lemon grass, tender center part only, cut into 3-inch lengths and smashed

3 kafir lime leaves (can substitute curry leaves)

1 chili pepper (seeds removed)

1/4 cup freshly squeezed lime juice

1/3 cup fish sauce

cilantro stems (save leaves for use as garnish)

1 tablespoon sugar (optional)


Combine all ingredients in a large pot, bring to a simmer, and cook 20 minutes. Strain and return to pot. This step can be done ahead.


FOR THE CURRY:

olive oil or butter for sauteeing

1 onion, thinly sliced

2 cloves garlic, minced

1 red pepper, seeded and cut into matchsticks

2 sweet potatoes peeled and cut into 1/2 inch pieces 

1 pound boneless skinless chicken breasts, cut into bite size pieces

2 small zucchini, cut in half lengthwise and then chopped into 1/2 inch pieces

8 ounces snow peas

cilantro leaves for garnish


Bring broth to a simmer on stove. Saute the onion, garlic, and red pepper in a little olive oil or butter and add to the broth. Add sweet potatoes and cook 8-10 minutes, until almost cooked through. Add chicken and simmer 3-4 minutes, or until chicken is cooked through.


In the meantime, saute zucchini until just starting to brown. Add snowpeas and cook until bright green. Add to curry and serve. Garnish with cilantro leaves. 


Thursday
Mar172011

tortilla soup


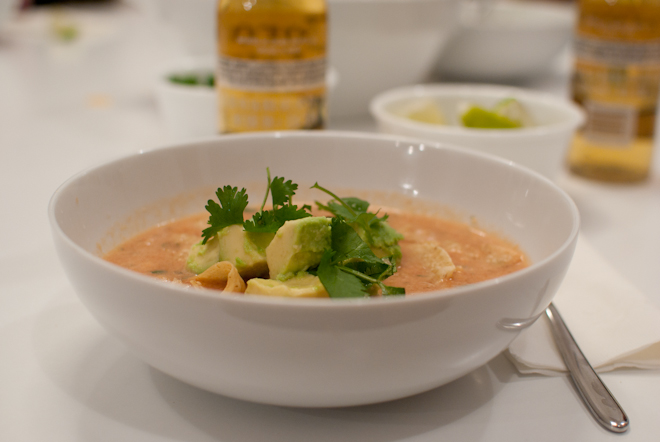
I used to live near City Bakery in Manhattan, which, in addition to being famous for its delicious cookies and croissants, happens to make a delicious tortilla soup. I wanted it more often than they sold it and had to learn to make my own. This version is creamier than City Bakery’s but more than satisfied my addiction. While the spicy chipotle peppers in adobo sauce are available in most supermarkets, they might be too spicy for some budding palates. You could minimize or omit the peppers entirely, depending on your family’s spice threshold, and let people add tobasco (or any hot sauce) to taste. I like to serve the soup with the avocado, lime wedges, cilantro, and chips in separate bowls so everyone can add their own -- my kids always love to have that little bit of control!


1 poblano pepper
1 28 ounce can tomatoes 
1 medium onion, peeled and cut into quarters 
3 cloves garlic  
1 cup cilantro 
1 teaspoon dried epazote (optional, you can substitute a 1/2 teaspoon of dried oregano)
1 teaspoon chipotle peppers in adobo sauce (optional)
1 8 ounce container sour cream
1 teaspoon sugar 
2 teaspoons salt
1 32 ounce box chicken broth 
1 pound boneless skinless chicken breasts 
2 cups finely grated chihuahua cheese (can substitute monterey jack)
   diced avocados
   tortilla chips 
   lime wedges


Roast poblano pepper over the flame of a gas burner until charred. Place in a bowl and cover with plastic; let sit 10 minutes. Remove and discard charred skin, seeds, and core.


In blender combine poblano pepper, tomatoes and their liquid, onion, garlic, 1/2 cup cilantro, epazote, chipotle peppers, sour cream, sugar, and salt. Cover and blend until nearly smooth. Put mixture into a large pot and add chicken broth and chicken breasts. Bring to simmer; cover and cook for 10 minutes. 


Remove chicken from pot and set aside until cool enough to handle. Shred chicken into bite sized pieces and add back to pot. Ladle soup into bowls and serve with grated cheese, avocado, tortilla chips, remaining cilantro, and lime wedges.

Monday
Mar142011

lamb stew


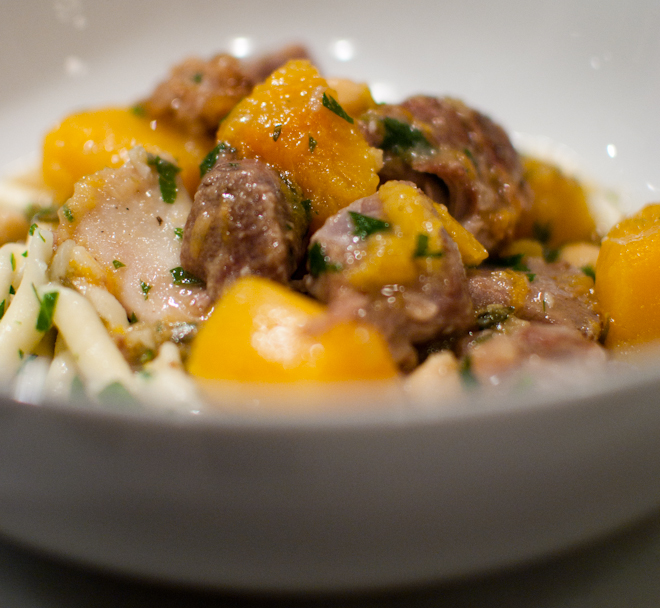
This stew is a hearty one pot dinner that is a cold day favorite in our house. And although it takes a couple hours from start to finish, very little of that is active prep time. It’s also very flexible—you can substitute sweet potatoes for the butternut squash, or add in zucchini if you have it (just add it to the pot about 10 minutes before it’s time to pull it off the stove).


2 1/2  pounds lamb stew meat 

Flour seasoned with salt for dredging

2 tablespoons olive oil
1 onion finely chopped
4 cups chicken stock
1/2 teaspoon finely chopped rosemary
1/2 teaspoon dried basil
1/2 teaspoon dried thyme
2 bay leaves
1 cinnamon stick
1 butternut squash, seeded, peeled, and cut into 3/4 inch dice
1 cup dried apricots cut in half or quarters depending on size
1 can chickpeas, drained and rinsed
Zest of one lemon, finely grated
1/4 cup chopped flat leaf parsley


Dredge lamb in flour mixture.  Heat oil in a large pot and brown lamb well on all sides, working in batches. Remove lamb and set aside. Add onions to pan and saute over medium heat until translucent.


Return lamb to pot and add stock, rosemary, basil, thyme and cinnamon stick. Bring to a simmer and cook over low heat, covered, for 1-2 hours, until the meat is fork tender.


Add butternut squash and dried apricots and cook until squash is tender, about 15 minutes. Add chickpeas and cook 5 minutes more.


Just before serving stir in lemon zest and parsley.


Serve with couscous, rice, or noodles.

Tuesday
Mar082011

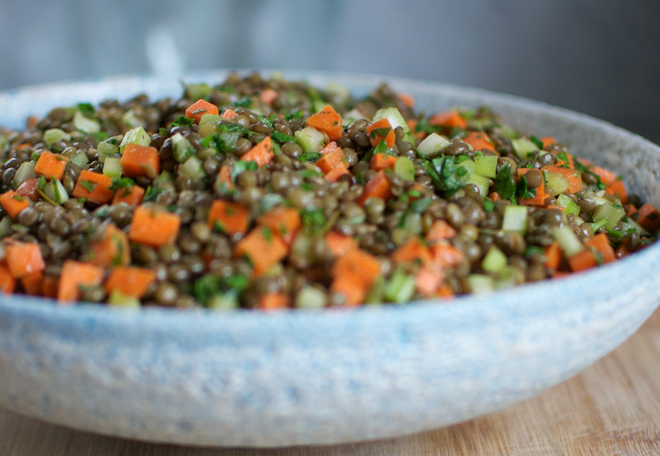
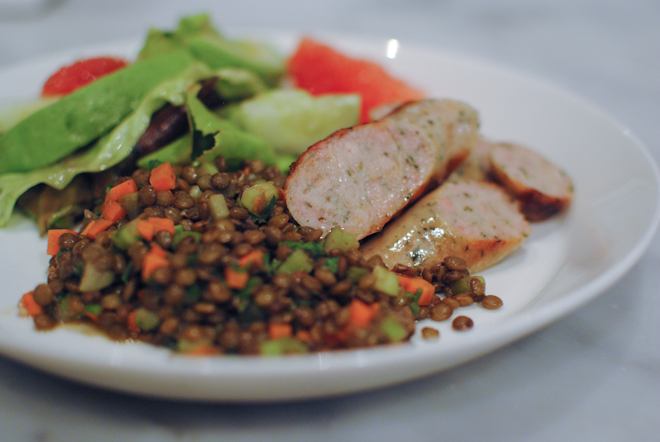
lentil salad


I first started making vats of these lentils when I was pregnant with my twins and hungry all the time! Now I make it for just about every school potluck meal. It’s perfect for grownups just out of the refrigerator, as well as at room temp in the kids’ lunch boxes.


Cook 2 cups french lentils with enough water to cover generously (an inch or two above the lentils).


Add 2 peeled cloves of garlic, a bay leaf, a few sprigs of thyme, and 1 teaspoon salt. If you tie the thyme into a bundle it makes it easier to fish out the stems after cooking.


Bring to a boil. Reduce to a simmer and cook for 12-25 minutes or until tender. If the liquid evaporates before the lentils are done just add a bit more water. Once the lentils are tender drain any remaining liquid and transfer lentils to a bowl.


Remove the garlic cloves and save for use in the vinaigrette. Discard the bay leaf and thyme stems.


While lentils are cooking dice about 6 carrots and 6 stalks of celery. Add to the bowl with the lentils.


For the dressing, mash the garlic and chop it into a paste. Add 1/4 cup of red wine vinegar and 1/2 cup olive oil, 1 teaspoon mustard, and salt and pepper to taste. Whisk to combine and add to lentil salad. Chop a bunch of fresh parsley leaves and stir into salad. Refrigerate until ready to serve.


Wednesday
Mar022011

muji notebooks


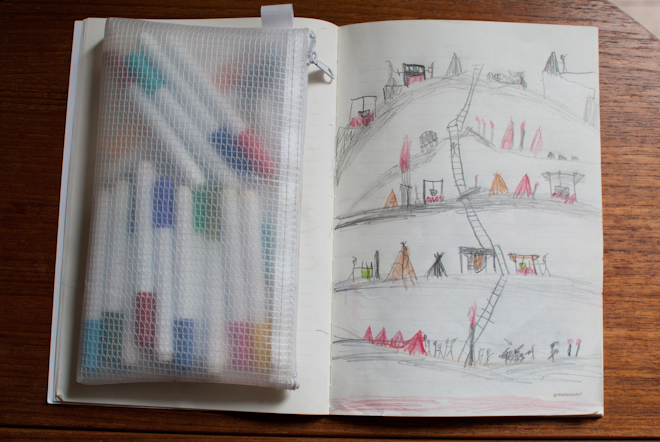
Whenever we go out to a restaurant I always bring along a couple of spiral notebooks from Muji along with some markers to keep the kids occupied. They’re small and lightweight and lay flat on the table while the kids draw. When the pages are filled, the notebooks make nice little albums of their artwork. I try to remember to date them.


Target also sells these little notebooks made from recycled paper by greenroom.


Page 1 ... 21 22 23 24 25