blueberry focaccia
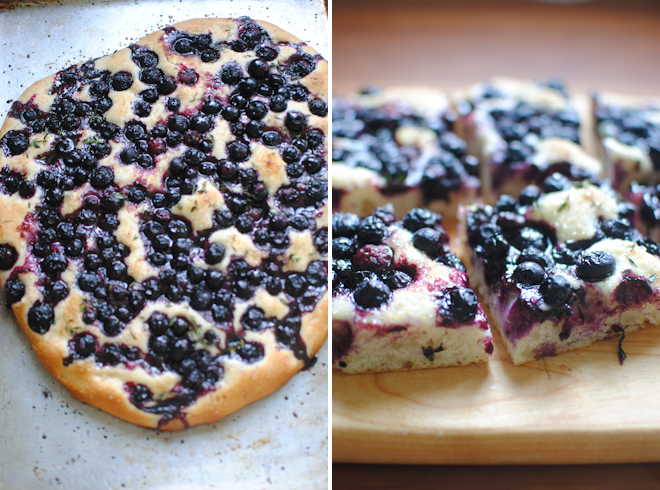
I love the blurry line between sweet and savory. Now, as blueberry season is coming to an end, I thought it would be fun to make a blueberry focaccia. The sweetness of the berries and the little bit of sugar sprinkled on top offset the olive oil, sea salt, and thyme perfectly. I was not at all disappointed when the kids universally declared they did not like this one...more for the adults!
This would have been a a perfect baking project during hurricane Irene (assuming you did not lose power) since you need to stick around while the dough rises several times. From start to finish it takes about 5 hours to make but the active time is only about 20-30 minutes since each step requires minimal effort.
This recipe makes two loaves - partly because I hate using only part of a packet of yeast, and parlty because it is really just as easy to make 2 as it is to make one. This would be a perfect thing to serve if you are having a cocktail party, delicious with some nice cheese and wine. I also enjoyed it for breakfast with my morning coffee.
BLUEBERRY FOCACCIA
2 cups warm water
1 packet dry active yeast (mine was about 2 1/2 teaspoons)
1 tablespoon sugar
4 1/2 cups all purpose flour
1 teaspoon fine salt
1/2 cup plus 2 tablespoons extra virgin olive oil
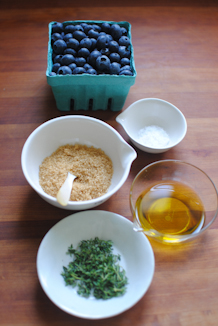
3 cups blueberries
4 teaspoons fresh thyme leaves
2 tablespoons turbinado sugar
3/4 teaspoon coarse sea salt
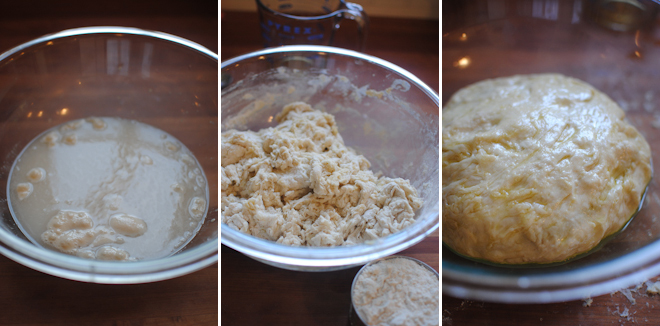
Place warm water in a large bowl and sprinkle yeast and sugar over the surface. Set aside for 5 minutes or until yeast is frothy. (Note: If the yeast does not become frothy it is not active and needs to be discarded.)
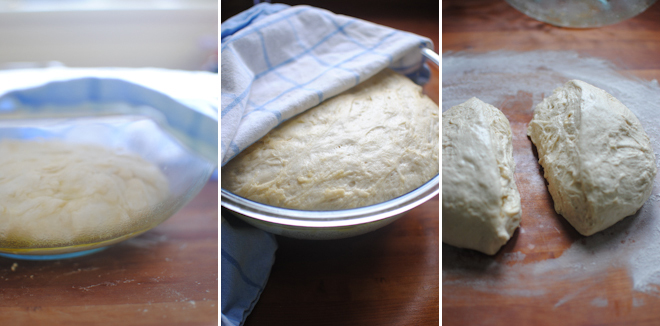
Add 4 cups flour, 1 teaspoon fine salt, and 1/4 cup olive oil and stir until the dough has gathered into a rough ball. Sprinkle 2 tablespoons of the flour onto a clean work surface and turn dough out onto it. Knead it for a few minutes until it is nice and elastic - the dough will still be sticky. Coat the inside of a large glass bowl with another tablespoon of olive oil. Place dough in bowl, turning it over so that it is all coated with the oil. Place a clean dish towel over the top and set aside to rise until doubled in size, about 2 hours.
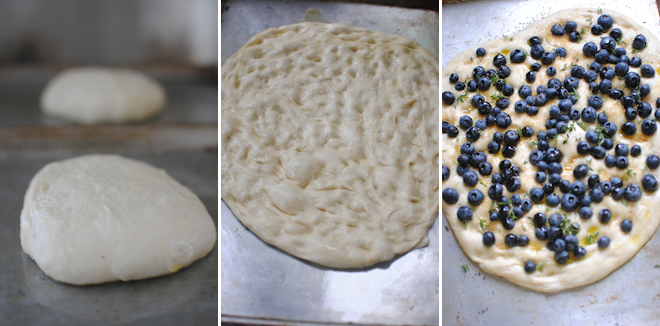
Remove dough from bowl and knead for a minute or two. Cut dough in half. Drizzle two sheet pans with olive oil and spread out to coat. Place one ball of dough on each tray, turning to coat with olive oil. Place a towel over each pan and set aside until the dough has risen enough that it is soft - about 30 minutes. Rub your fingers in the oil on the pan and press each piece of dough into a large oval, about 1 inch deep. Press your fingertips into the bread until it is covered with dimples. Cover with dishtowels and set aside to rise for another hour and a half.
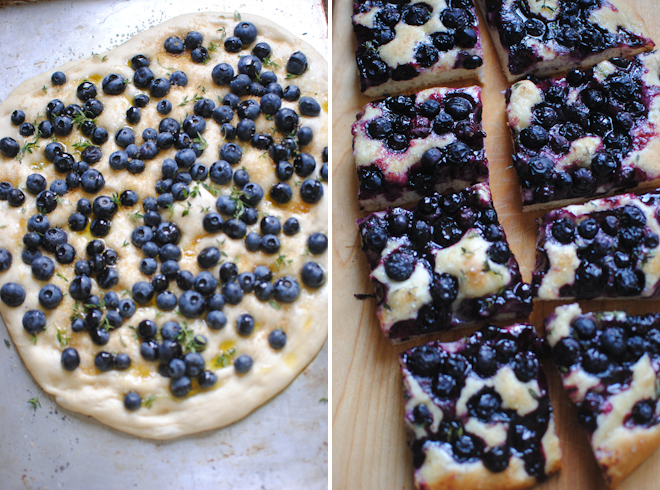
Preheat the oven to 450°. Once it is hot, divide the blueberries, turbinado sugar, coarse sea salt, and remaining olive oil between the two pans, sprinkling each evenly over the surface. Bake for 15 minutes, until golden brown and bubbling. Allow to cool on a rack before serving.
 baking bread,
  blueberries,
  breakfast,
  hors d'oeuvres,
  savory in
  FOOD
FOOD 
