
making beads
When the kids are invited to a birthday party these days I head straight for the art supply store to buy a gift. Inevitably I end up buying things for our house as well. I am always attracted to the bright colors of sculpey clay so when I bought a box for a gift, I got a box for our family to play with as well.
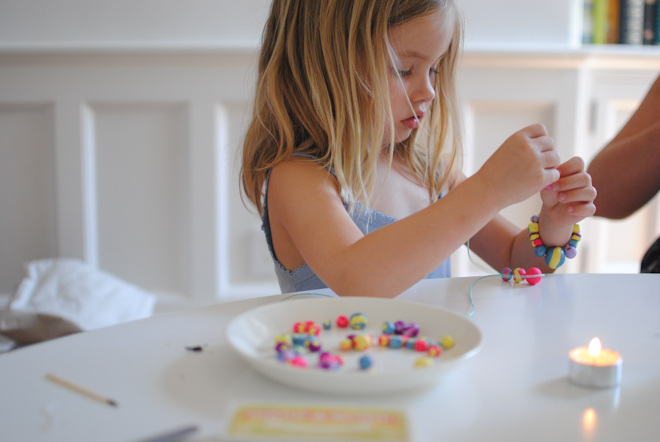
The clay is quite firm when first unwrapped, but as it warms up in your hands it becomes very pliable. I wanted to avoid having the kids just mix all the colors together into a big mess so I suggested that we choose 4 or 5 colors and leave the rest wrapped for another day. The clay keeps well in little ziploc bags, and only hardens in the oven, so this was more a matter of keeping some clean colors than preventing drying.
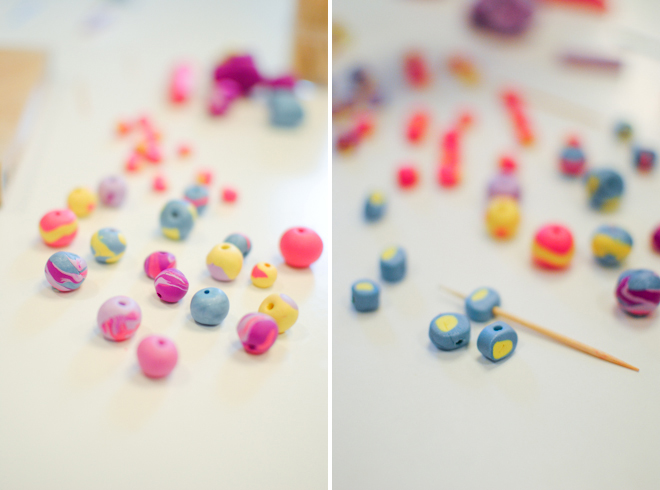
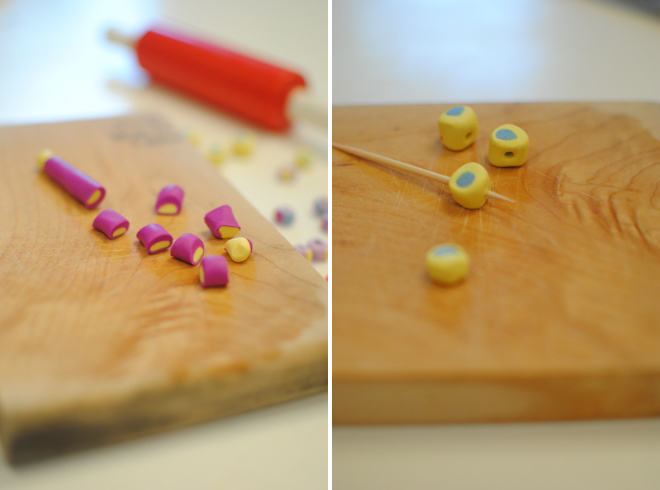
Bea and I decided to make beads for our first project. We started by rolling little balls, and then added some stripes and dots. A toothpick worked well for making the holes in the beads. Then we tried rolling "snakes" so we could cut them into disks for an alternate bead shape. These were also fun to embellish -- by adding little stripes down the sides we got cool graphic beads. We also made polka dot beads by wrapping a flattened piece around a tube and then slicing it. Bea loved making and cutting this type and was very pleased when the slices revealed nice patterns.
We baked our beads and let them cool and then got to work making jewelry. I pulled out some of options for string -- since the beads have fairly sizable holes we used wax coated cotton, a pretty silver twine, and some hemp -- all of which had been originally bought for gift wrapping. We found the ends frayed a little which made stringing harder. To solve that problem we lit a little tea light candle and dipped the ends in the melted wax...that worked well.
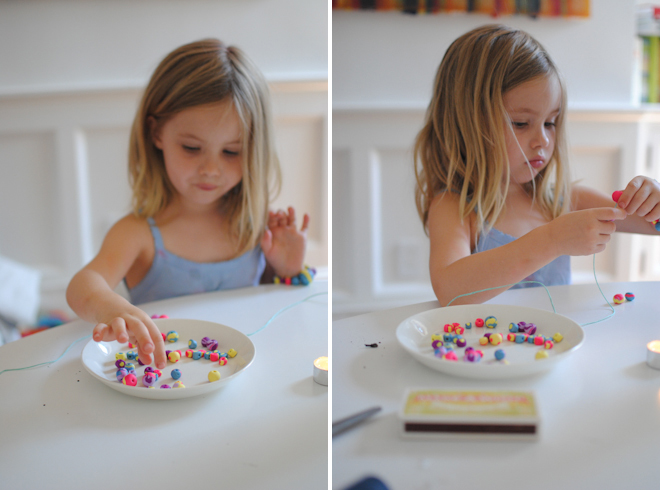
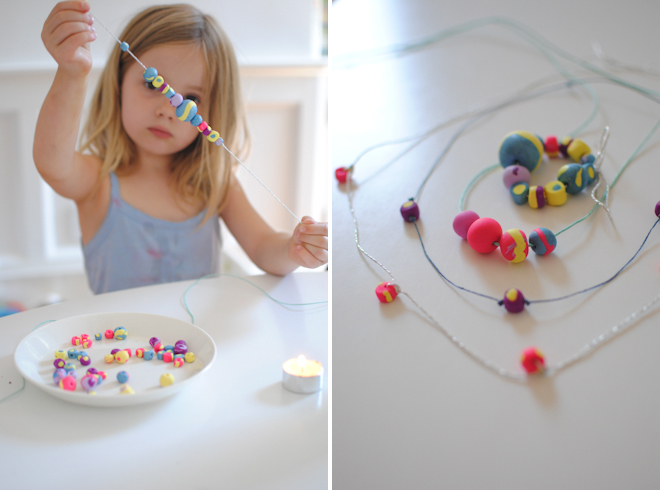
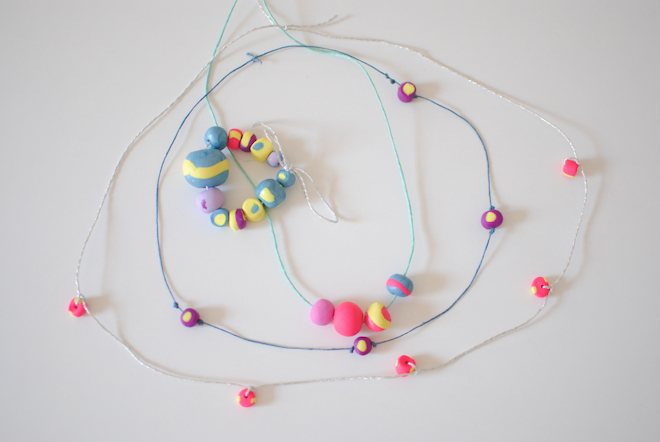
Bea and I approached the stringing differently: she opted to pile on the beads, often choosing the biggest most colorful ones. I opted to choose all one type of bead and space them out by tying each bead to the string at intervals of a few inches. I tried two different methods which you can see in the photo below. The purples and yellow beads were positioned on the blue waxed cotton by tying knots before and after each bead. The pink and yellow beads were tied into the silver string, resulting in a more whimsical look.
 ACTIVITIES
Reader Comments (3)
Lila is very jealous of the beads you made.... she wants to know how you made so many and we made so few????
Tell Lila we can make more together. The boys want to make them too.
I LOVE this idea! Maybe another few years and the boys will enjoy it too...I just have to remember.