Entries in crafts with kids (7)

Tuesday
Apr032012

paper flowers


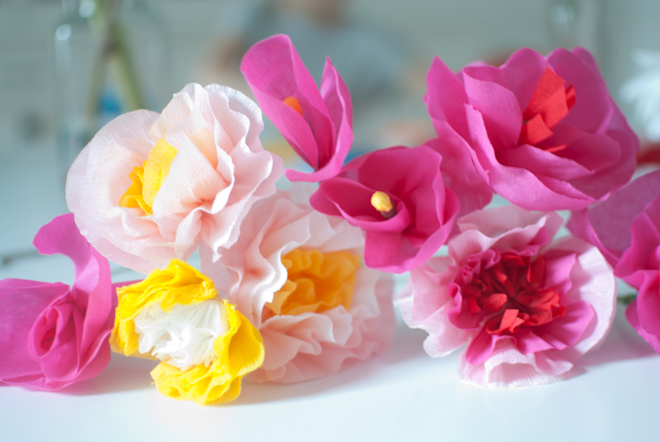
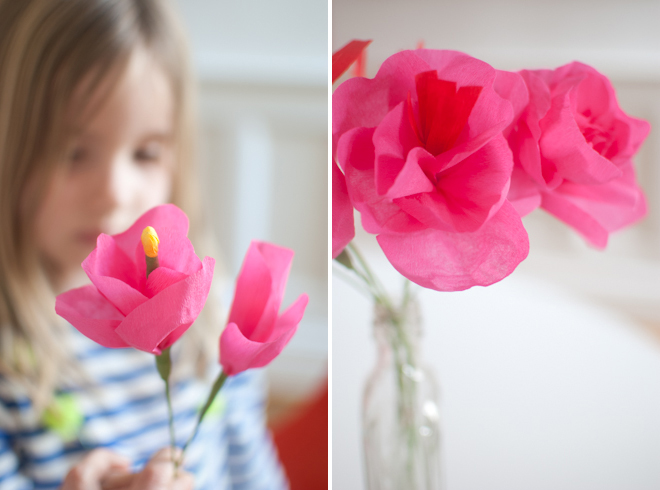
My mom recently celebrated her birthday and the kids and I decided to make her a big bouquet of paper flowers for our celebration. I ordered a bunch of crepe paper and some floral wire and floral tape before we set to work. Bea was most excited about this idea so initially it was just the two of us working together. It was a really fun activity to do as a pair since we could focus and work together.


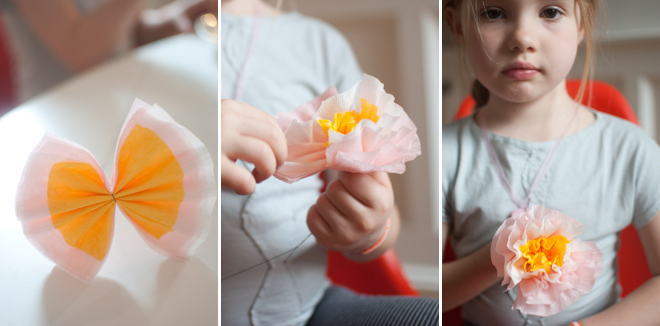
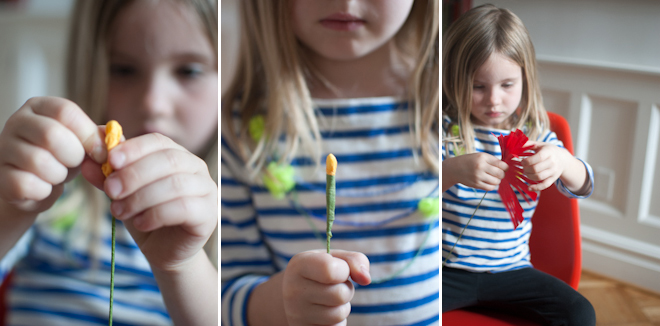
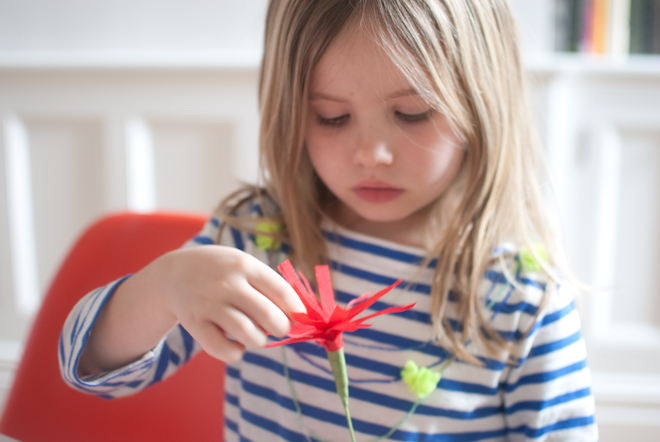
There are lots of ways to make crepe paper flowers but the only one I had ever tried was the technique shown above. You layer some squares of tissue or crepe paper, fold them with accordian pleats, and twist a stem around the center before carefully peeling up the layers one at a time, creating petals. I love this method, and find that even little kids can manage it fairly well. You can vary the shape of the flowers by doing wide or narrow pleats, and by trimming the edges so they are soft and round or spiky.


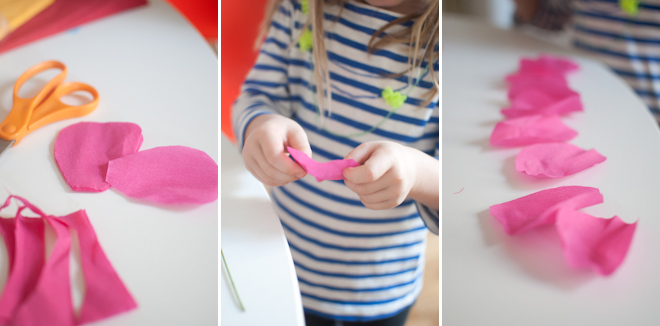
In addition, I wanted to try to make more realistic and delicate flowers. My friend Jodi has made many paper flowers over the years and has done stories on the subject for Martha Stewart Living so I searched and found her how to's: we tried the continuous petal method, the single petal method, and made our own stamens.


These were definitely too tricky for Bea to do on her own but she was happy to work as a team with me and we produced some pretty great blooms. Eventually Owen, Oliver, and Lila joined in and they all had a great time making the flowers too. By the end of the project we had made two big bouquets...one that was all shades of pink, and a second one that was art directed by Oliver that included red, white, and blue flowers...a very July 4th color scheme! My mom loved them all and seemed very pleased to get to take the bouquets home with her after our birthday dinner together. Happy birthday, Mom...We love you!


p.s. These would be great Easter decorations too!

Monday
Jan162012

stenciling


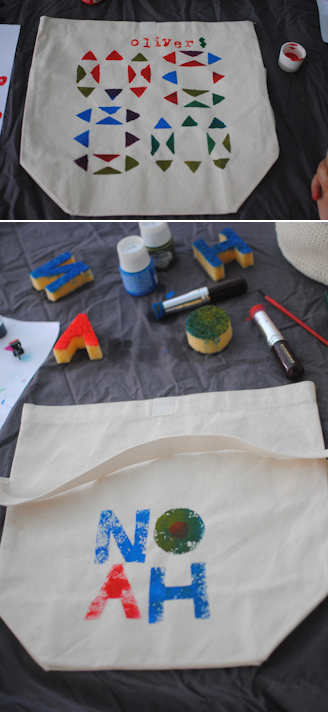
Over the summer when we did our indigo dyeing project I had some leftover bags and tees so we decided to give stenciling a try.


I had Lotta Jansdotter's stenciling book so I just needed to buy some paints and brushes at the art supply store.


It turns out stenciling is a little tricky for some kids. They all enjoyed it, but when an adult assistant was able to hold the fabric and stincil still so the kids could just focus on applying the paint the outcome was more successful.


Although our first try did not gvie us the most beautiful results we will certainly try it again! Maybe now that it is winter and we spend more time indoors we will have time to practice and improve our techniques!


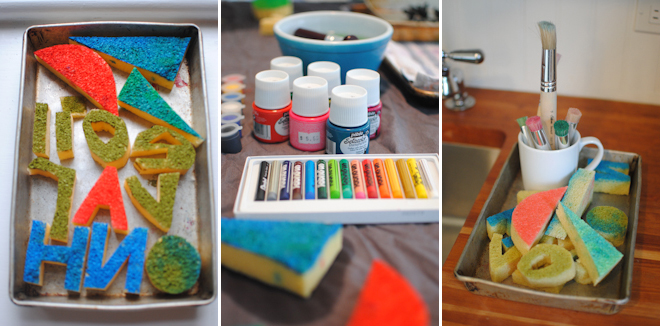
In addition to the stencils we did have fun cutting up sponges and doing prints with them too. I found that the sponges that are sold flat are easy to cut, and once they are wet and plump make great stamps.


Monday
Nov212011

decorating with glass and porcelain markers


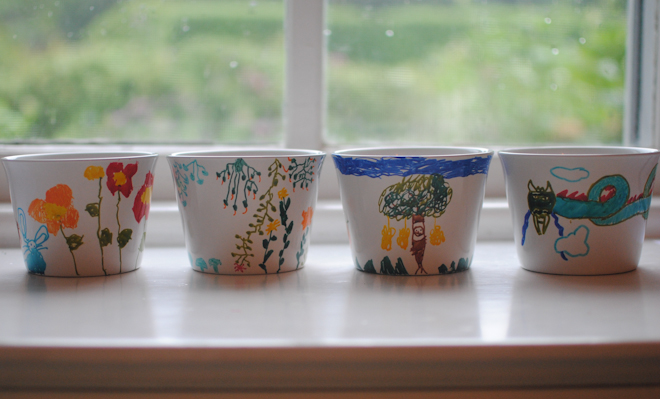
Last spring I was reading Lotta Jansdotter's blog and noticed this post on porcelain markers. I was intrigued, and I knew that during the month of August Lauren and I would have a house full of kids to entertain, so I so stopped by Pearl Paint and picked up a set of the markers. While there I also saw a similar set to be used on glass and got those too. You can buy the pens individually as well, which is great if you know exactly what you want to do...the pens are quite expensive, $59 for the set. Still, I was not deterred. My kids love to draw, as does Lila, and I felt pretty sure that they would enjoy the idea and possibly even produce some pretty things. The next stop was Ikea for the least expensive white dishes and glasses out there...it is pretty amazing how many things are sold in sets of six for under $10!


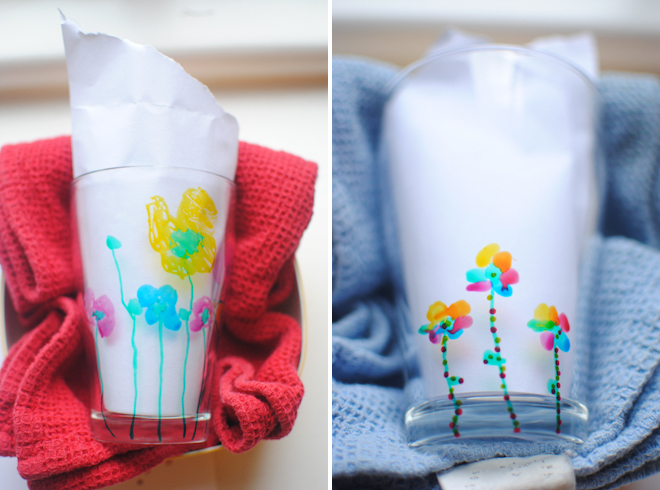
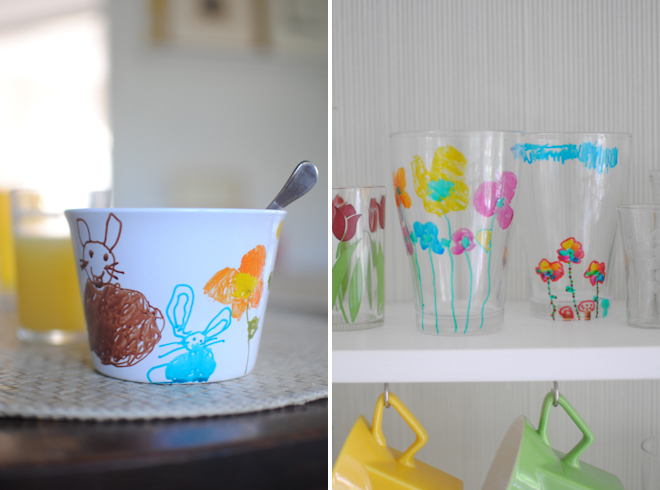
Since the pens were expensive, and because I wanted the finished products to work in the house, I decided to art direct, and to have the kids do these projects slowly. I asked them each to make a garden (or flower or tree) when working on the glasses. I thought that would look pretty on the open shelves in the kitchen and would work well mixed in with all of our mismatched vintage juice glasses too.


The bowls I bought are a good size for cereal, a staple in our house. I decided to let the kids have artistic freedom with them and they all did a pretty amazing job!


Since we were drawing around the outside of glasses and bowls I needed to help the kids get set up. We found that fitting a tupperware with a dishtowel made a nice bed for the dishes to sit in -- the towels helped stabilize everything. Also, when drawing on the glass, it was helpful to insert a white piece of paper inside so that you can really see what you are doing. Once you have drawn on the dishes you need to let them dry for 24 hours, and then you bake them to seal the paint. The sales person at Pearl Paint did say that he does not really recommend this for the center of plates where knives and forks are continually abrading the surface.


I think this would also be a great activity for a party, especially with elementary school age kids. The finished product can be the party favor too but you will have to deliver it after the party ends unless you are having a 24 hour affair! 

Friday
Nov112011

duck tape canoe


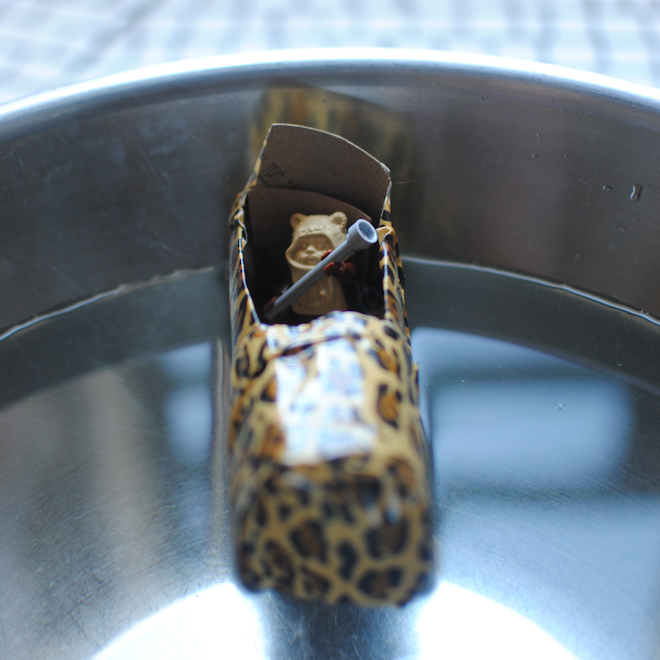
Oliver is inspired to create things by everything he sees. Recently I was working on a project with my friend Jodi that involved duck tape and cardboard. Oliver was watching and wanting to "help" but it was not really something I could include him in at that exact moment. A minute or two passed and then he asked if he could also use some duck tape and a toilet paper roll. I agreed, and suggested that he use the leopard print tape he had begged me for when we had been shopping at Lowe's. After what seemed like only a moment I heard him calling excitedly from the bathroom, "It works mom! It floats!" When I went to see what he was talking about he had made this amazing little boat and was testing it in the bathroom sink. We filled a bowl of water and he set to work making an armada...it was particularly fun to see that not only was he testing his imagination and crafting skills, but also doing a little science project.

Monday
Aug082011

indigo dyeing


Once the kids finish camp we spend the rest of the summer at our house in Long Island. As soon as the first signs of summer appear I start dreaming of all the projects I hope to accomplish during that time, either with the kids or on my own. One activity that always seems fun for all of us is tie dyeing, but the end results are rarely anything I want to keep. Still, I started researching supplies, thinking there must be a way to direct the kids...maybe only using one color at a time for example. That thought led me to indigo dyeing. I love so many of the designs that skilled indigo artists are able to acheive, and knowing how much the kids have been enjoying origami, I thought the idea of concentrating on the folds that acheive the patterns would be fun for them. Sure enough, the boys were particularly into trying complicated folds and they made some incredible indigo patterns as a result. Rather than securing the folds with rubber bands we sandwiched them between pieces of wood or tiles. The parts covered with the wood or tile remained white, enhancing the geometry even further.
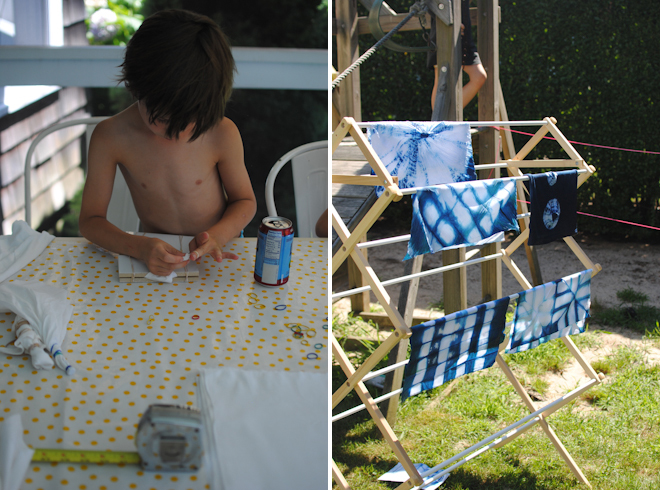


I bought an Indigo Dye Kit from Dharma Trading, which is a great source for supplies for projects like this one. They sell a large selection of garments that are ready to dye, as well as tote bags and quite a few varieties of fabric - you can find them all here. I chose a few pieces of clothing for each child, thinking they would have fun making something they could wear. I also bought a few yards of muslin, and a few yards of canvas. I find that often with this kind of activity the materials run out before the interest does -- the muslin was inexpensive and I knew it would occupy us for a while.


In addition, I bought some other supplies at the hardware store:

*A couple buckets with lids to prepare the dye in -- the dye keeps for days as long as it is not exposed to too much oxygen so the lids are important.

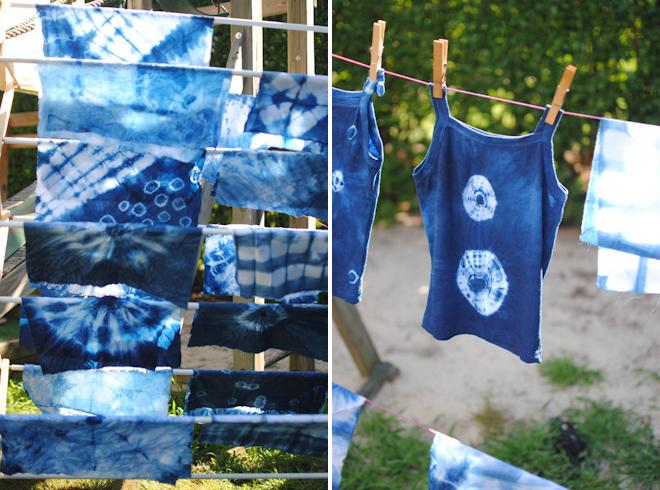
*An assortment of screws and nuts -- these are used if you want to make circular patterns -- look for screws that are a few inches long to make big bold concentric circles, like the ones on the tank top in the photo above.

*Lots of rubberbands...little ones and big ones since the effects are quite different. String is good too.

*Some wooden shims -- these worked well sandwiching the folded fabric, which creates white color blocks or grids. I also had some leftover tiles in the basement which we used the same way.

**You also need enough rubber gloves for everyone...I forgot to do this so we had to divide tasks accordingly!

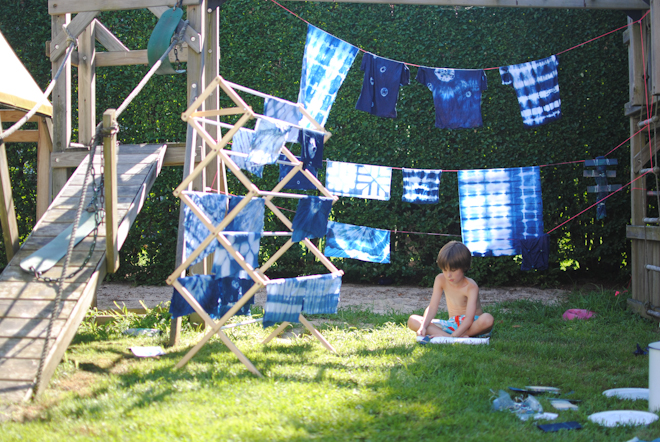
Last but not least, you need to figure out where you will dry all of your dyed pieces. We borrowed a wooden drying rack from my parents, and strung up a makeshift clothes line on our play structure in the backyard.
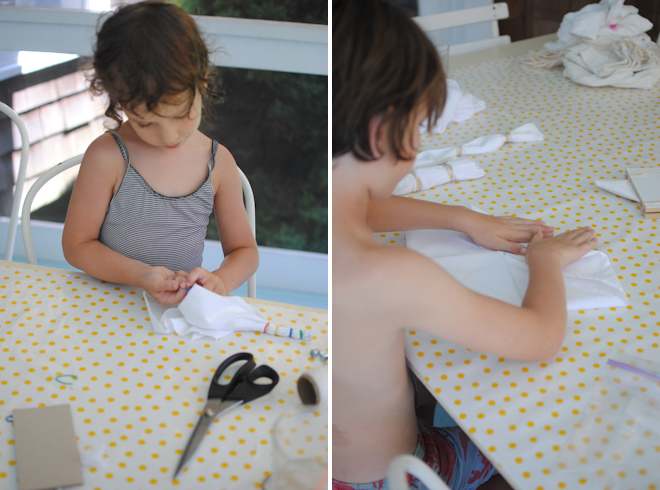
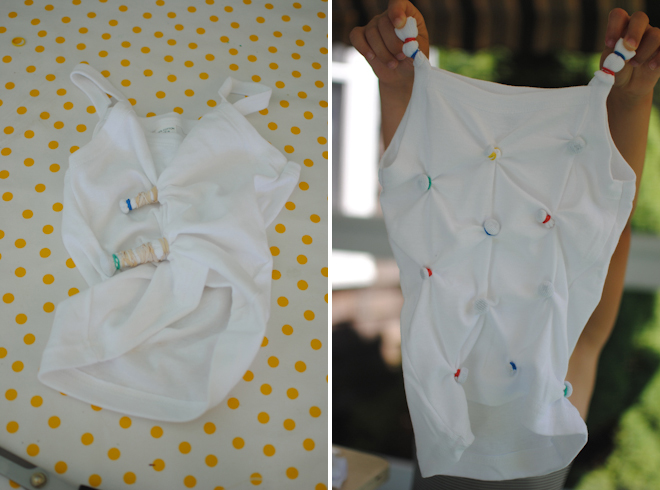


The muslin turned out to be a great idea. I bought 5 yards and cut most of it into 15 inch squares, keeping a few larger pieces as well. That allowed everyone to experiment as much as they wanted to without using up all of our materials. Once we completed a bunch of squares, and could see how things worked out, we were more prepared to dye some clothes. 
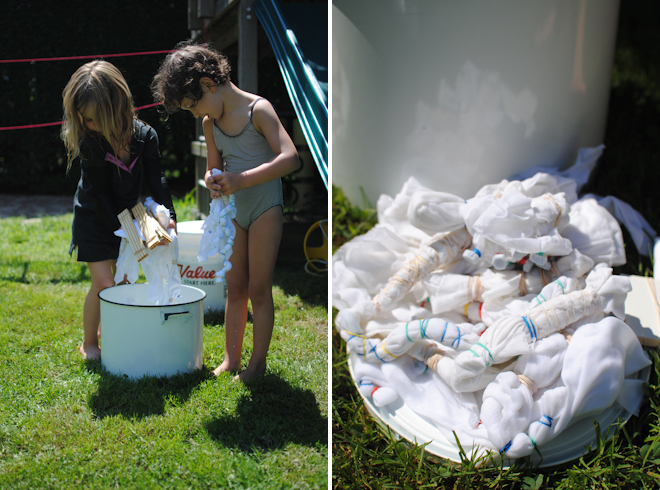


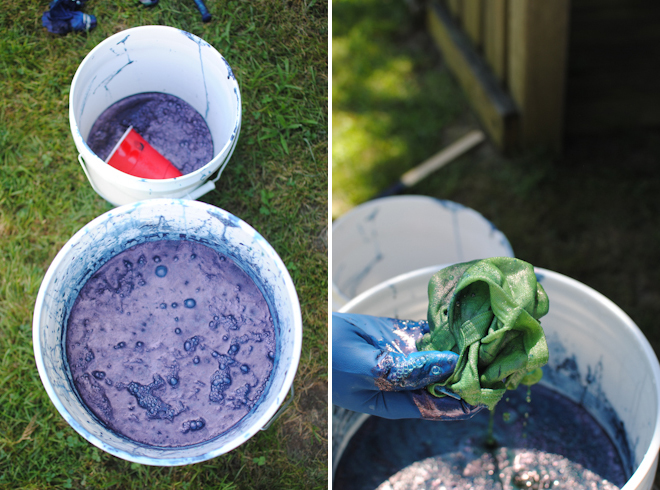
Adam prepared the dye and the rest of us got to work preparing our fabric. We experimented endlessly, so our range of patters was pretty diverse. One of the fascinating things to watch was the dyeing itself. You dip the fabric or garment in water first - I think this helps the dye absorb more evenly. As I mentioned, I neglected to buy was enough rubber gloves for everyone...as a result the kids did the dips into water, and Adam dipped everything into the indigo...Oliver could not be deterred so thankfully I found one more pair of rubber gloves, which he used for a few dips, and then I used to remove all the rubberbands and string and hang everything on our rack and clothes line. When you pull the fabric from the dye bath it first appears bright green and only after it is exposed to the air does it turn blue. It was quite beautiful to watch!
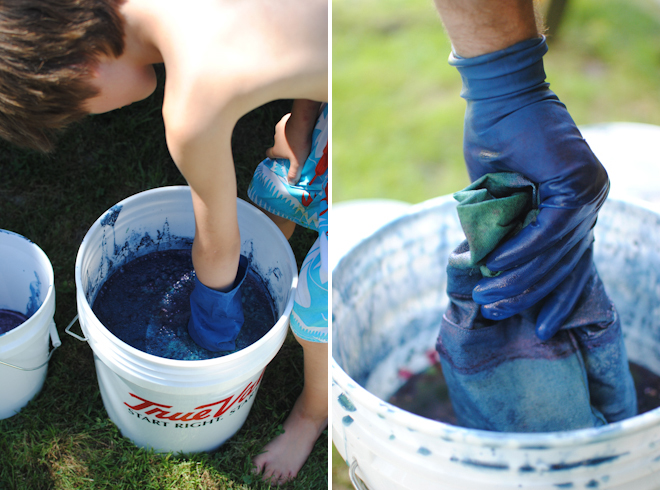


In addition to all the effects you can get with string, rubberbands, and complicated folding, you can also get a beautiful striped effect (known as ombre) by dipping different sections for various amounts of time. I tried this on a canvas tote bag that I bought at Dharma Trading as well.  
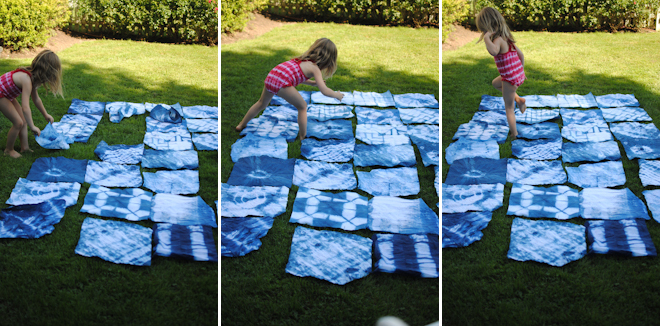


Not only did the muslin serve as a relatively cheap way of extending the experience, but I also now have a new project to work on...I think a quilt, or some quilted pillow cases, will be a great thing to make from all the squares. Bea and I played with the squares making a big grid but I will have to give some thought to other options. I'm not sure I really want it to look like such a patchwork. I found the book SHIBORI very inspiring before starting this project...I will have to take another look for inspiration on how to bring it all together. It will be fun to experiment with the different options for combining all the patterns and shades of blue. 


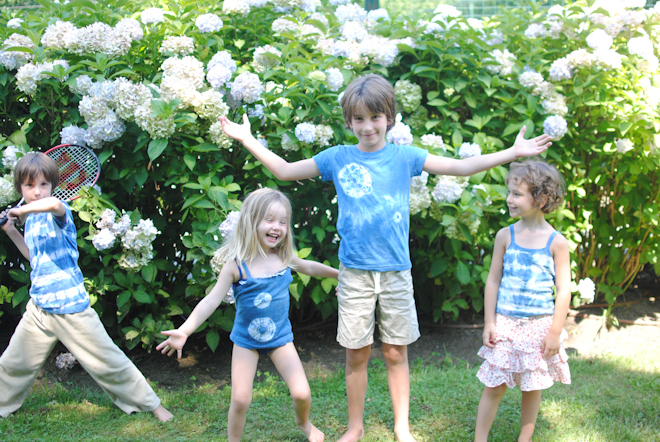
Until then, we have some happy kids proudly wearing their work!
 

Friday
Aug052011

origami


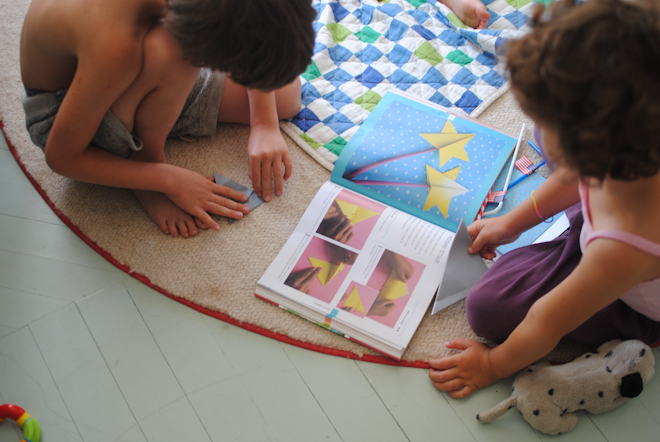
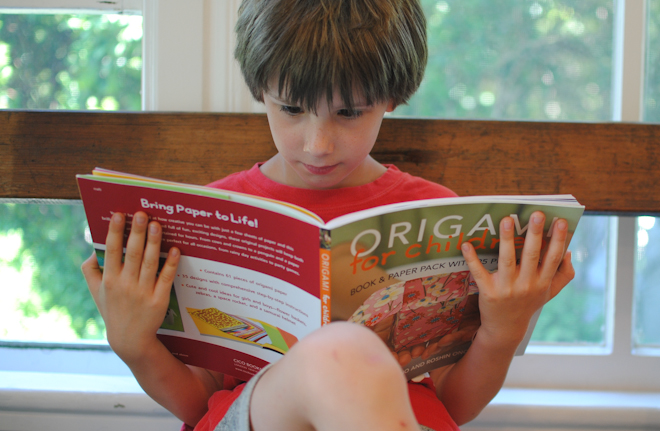
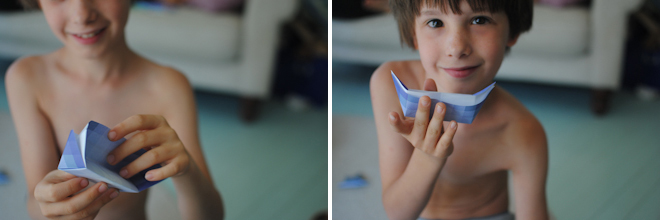
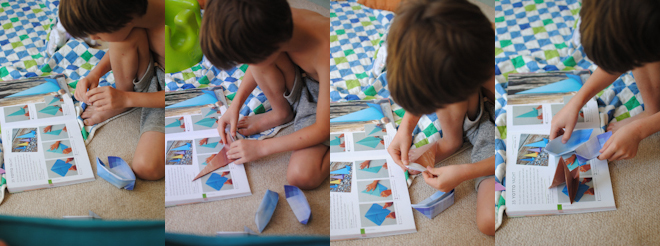
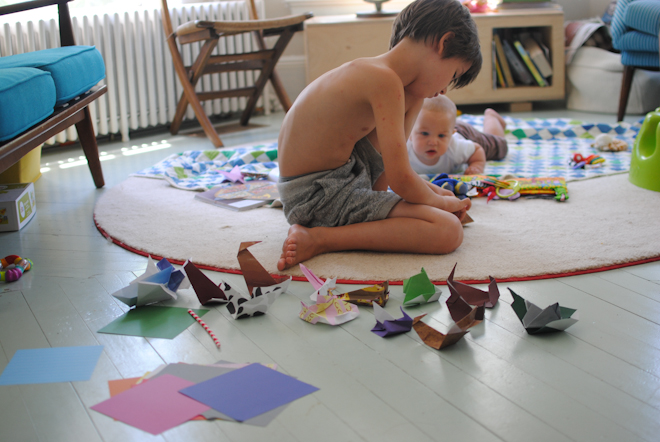
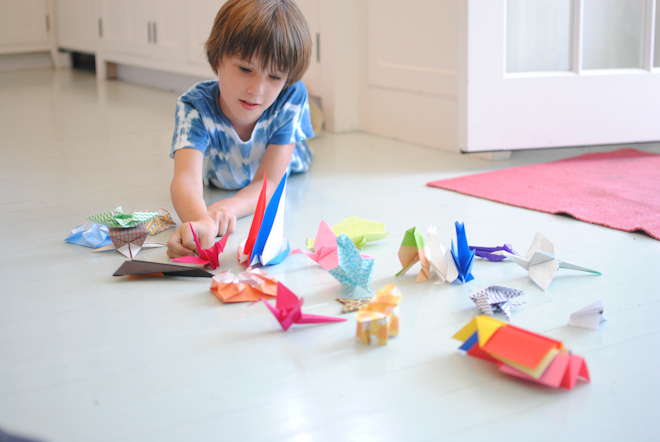
On a recent bookstore visit I found a bunch of Origami books in the craft section, including Origami for Children. My son Oliver loves making paper constructions so I thought he might be interested...that was an understatement! He wanted to start by making a ninja star (no surprise there) so we sat down together to try it out. I assumed that I would do the first one, and then help him make more -- after at least 5 or 10 minutes struggling with the directions I was starting to wonder if the project was doomed. The entire time I was trying to decipher the instructions Oliver was begging to do it himself...I kept putting him off, explaining that it was very tricky! Well, wouldn't you know, when I gave up he quietly got to work and figured the whole thing out. He is a little origami master. After making a bag full of ninja stars he moved through several other ideas in the book, including the balloon, and an armada of ships including some of his own invention. Eventually we were able to make the star wand (shown above) by working together, but we have not been able to replicate it!


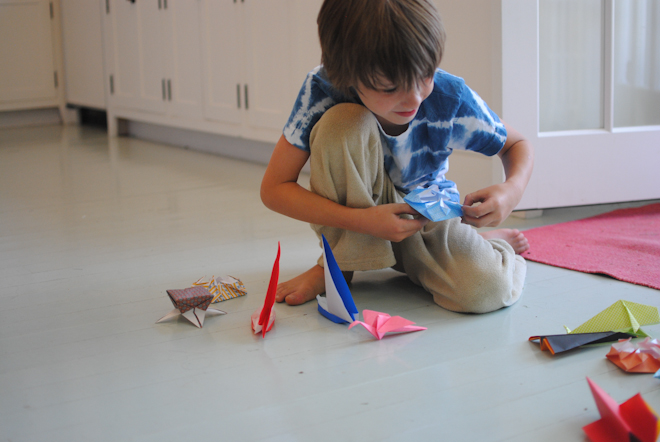
All in all I think the book is good for inspiration, but the how to's are quite confusing. Although my son was not deterred, he is extremely adept at making things, and is fine if the results do not exactly match the photo...as a matter of fact he prefers to make his own interpretations and is not exactly a perfectionist (see bottom photo)! I think the directions could be a lot clearer...the pieces get rotated and flipped without explanation which makes the steps more confusing than they should be. We have not had a chance to try all the ideas in the book but of the ones we did about 70% were successful. I will say, that I was able to make the little box on the cover of the book which is what drew me to the book in the first place...phew!


Friday
Jul292011

making beads


When the kids are invited to a birthday party these days I head straight for the art supply store to buy a gift. Inevitably I end up buying things for our house as well. I am always attracted to the bright colors of sculpey clay so when I bought a box for a gift, I got a box for our family to play with as well. 


The clay is quite firm when first unwrapped, but as it warms up in your hands it becomes very pliable. I wanted to avoid having the kids just mix all the colors together into a big mess so I suggested that we choose 4 or 5 colors and leave the rest wrapped for another day. The clay keeps well in little ziploc bags, and only hardens in the oven, so this was more a matter of keeping some clean colors than preventing drying.


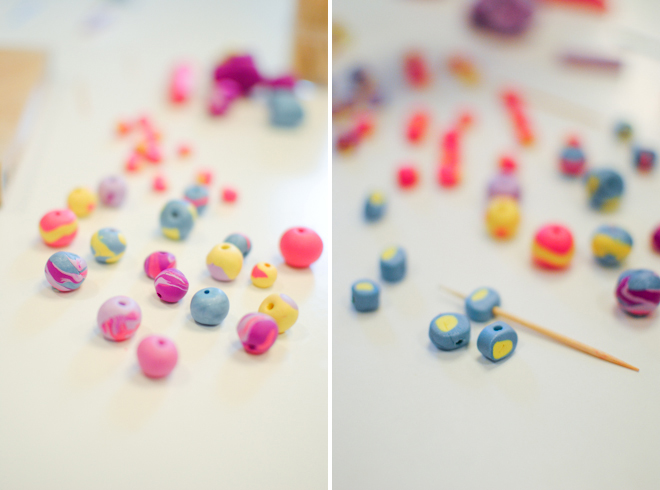
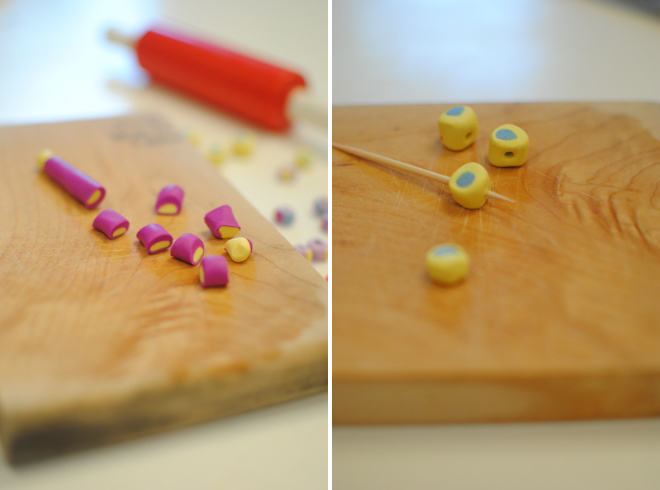
Bea and I decided to make beads for our first project. We started by rolling little balls, and then added some stripes and dots. A toothpick worked well for making the holes in the beads. Then we tried rolling "snakes" so we could cut them into disks for an alternate bead shape. These were also fun to embellish -- by adding little stripes down the sides we got cool graphic beads. We also made polka dot beads by wrapping a flattened piece around a tube and then slicing it. Bea loved making and cutting this type and was very pleased when the slices revealed nice patterns.


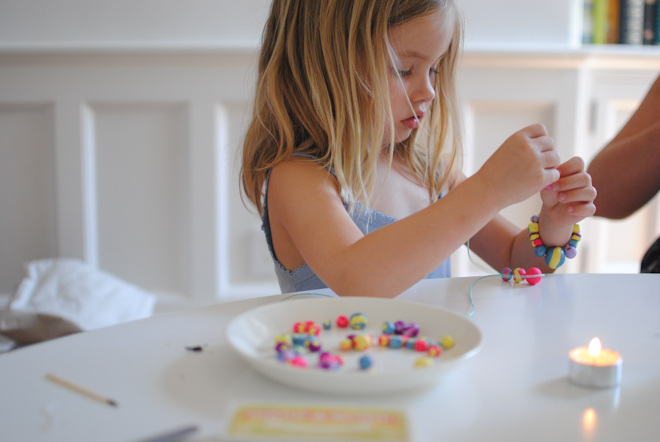
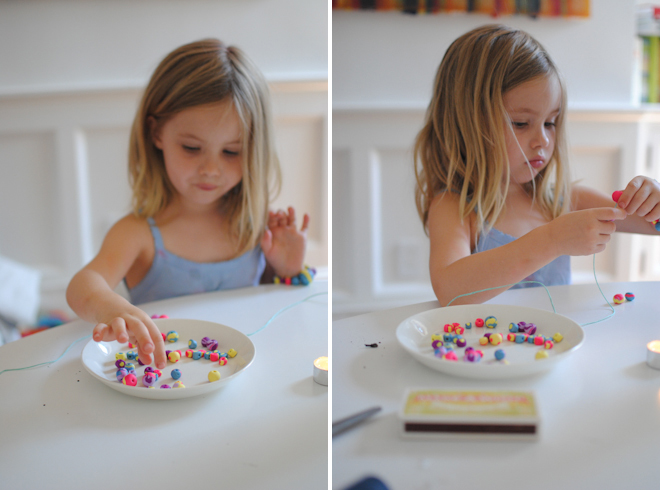
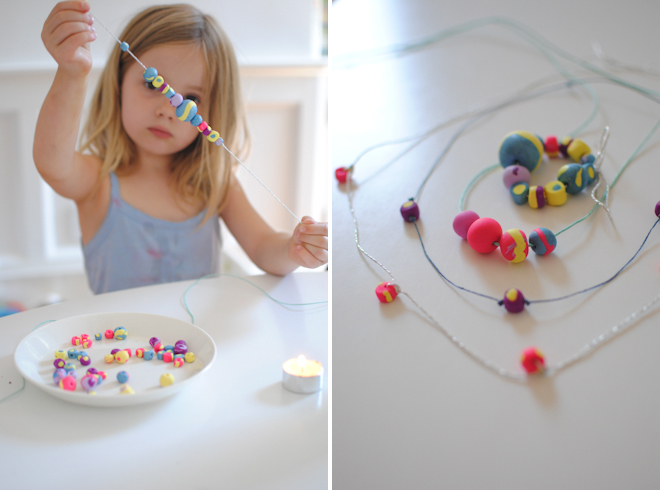
We baked our beads and let them cool and then got to work making jewelry. I pulled out some of options for string -- since the beads have fairly sizable holes we used wax coated cotton, a pretty silver twine, and some hemp -- all of which had been originally bought for gift wrapping. We found the ends frayed a little which made stringing harder. To solve that problem we lit a little tea light candle and dipped the ends in the melted wax...that worked well. 


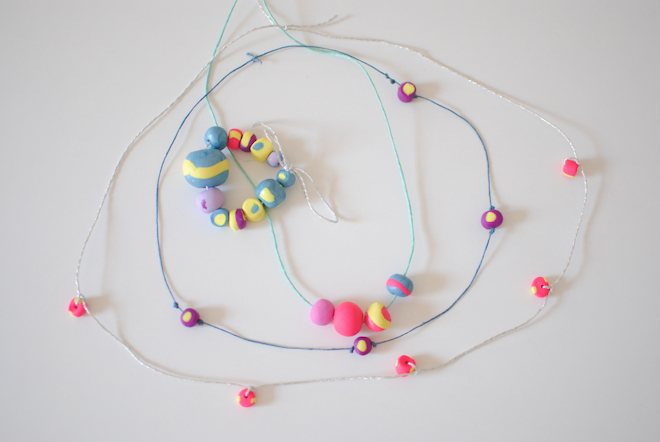
Bea and I approached the stringing differently: she opted to pile on the beads, often choosing the biggest most colorful ones. I opted to choose all one type of bead and space them out by tying each bead to the string at intervals of a few inches. I tried two different methods which you can see in the photo below. The purples and yellow beads were positioned on the blue waxed cotton by tying knots before and after each bead. The pink and yellow beads were tied into the silver string, resulting in a more whimsical look.