Friday
Nov042011

green soup


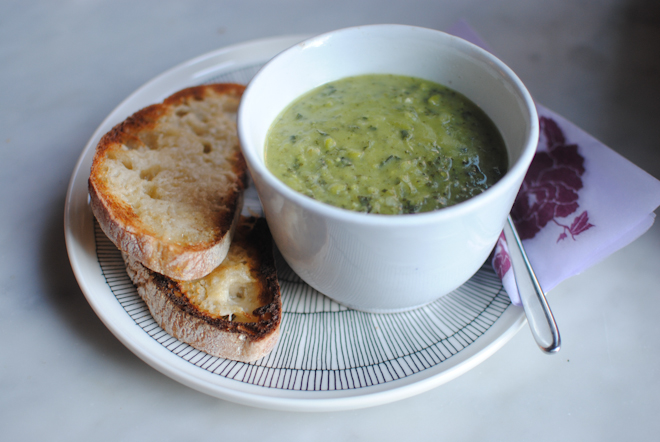
This soup is a perfect antidote to too much Halloween candy. It started out as a simple pea soup but I had the urge to fortify it a bit. The leeks and kale add flavor as well as lots of nutritional benefits and the potatoes give the soup a nice texture.


2 cups thinly sliced leeks (white and pale green parts only)

2 tablespoons olive oil

4 cloves garlic, peeled and roughly chopped

4 cups finely chopped kale (1small bunch)

4 russet potatoes, peeled and cut into 1/2 inch dice

8 cups chicken stock  (use vegetable stock for vegetarian soup)

2 bags frozen peas

1 tablespoon fresh mint (optional)

Salt and freshly ground pepper to taste


Soak leeks (after slicing) in a bowl of cold water to remove any dirt. Lift leeks out of water and if there is grit in the bowl repeat process until the water is clean.


Heat olive oil in a large pot and add leeks. Cook over medium high heat, stirring occasionally, until leeks start to soften, about 5 minutes. Add garlic and cook another 2-3 minutes. Add kale and continue cooking, stirring occasionally, until kale is wilted. Add potatoes and stock and bring to a boil. Reduce to a simmer and cook until potatoes are tender, about 15 minutes more. Add peas, mint (if using), salt and pepper, and cook another 5 minutes. Puree using a submersion blender (or working in batches in a regular blender). Taste and adjust seasoning as needed.


Wednesday
Nov022011

style: jordana martin


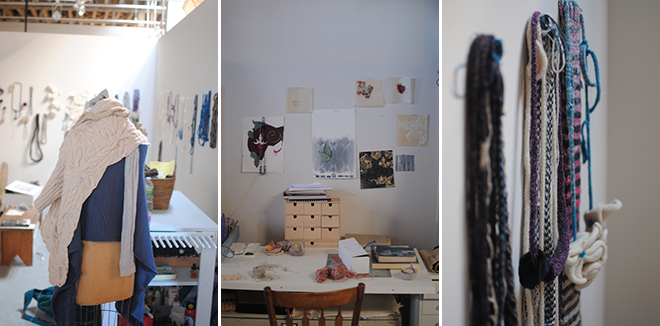
My friend Jordana is one of those people who simultaneously inspires and intimidates me...she is a wonderful artist and maker of beautiful things. We bond over the crafts we love, and admire many things in common. We both knit and love textiles but here is the thing...when I knit I make a sweater...when she knits she makes art. Never was this more apparent than the last time we met for lunch, and I asked if I could stop by her studio.


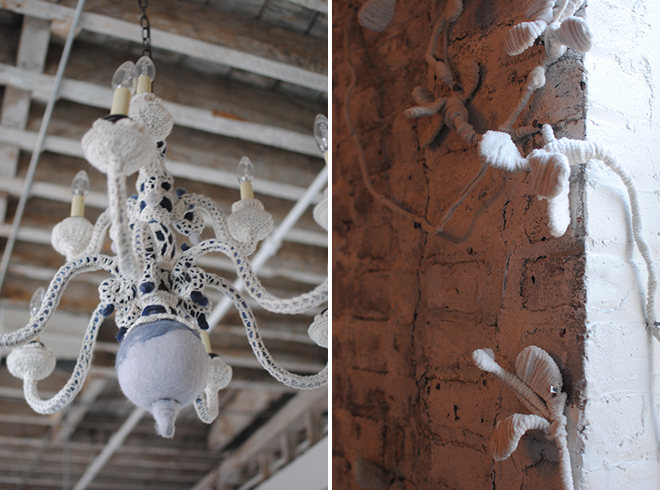
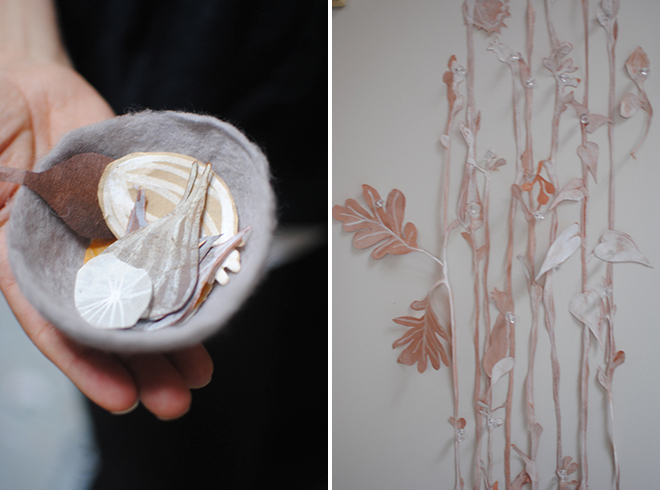
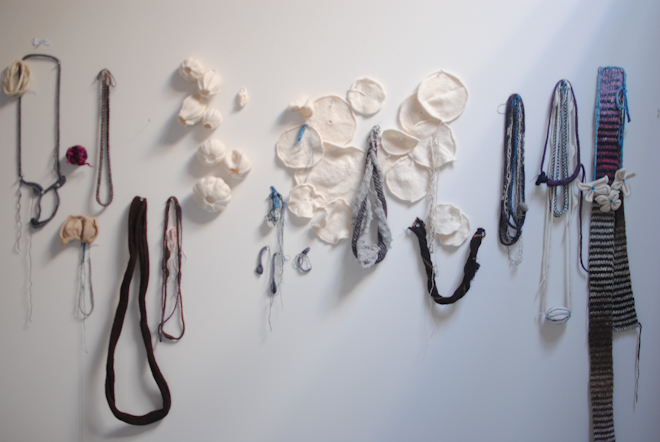
I had already seen the amazing crocheted chandelier and pouf. I had already been dazzled by the flowers, made of wool, that creep up the exposed brick walls as if they grew there out of the remnants of paint. But now, the walls are also covered with these amazing creations that she has made on her knitting machine. Many are necklaces: some of the simpler ones look like reptilian chains, others are organic shapes whose beauty is in the simple curve of the fabric, and then some are like a knit flower on a stem which drapes around the neck. There are also 3 dimensional shapes that make me think of sea urchins -- I love them as wall art -- but they may also become beads on more necklaces.


As I admired all of her work, furiously snapping photos all the while, I felt all of my inadequacies rising to the surface. But then, as Jordana always does, she encouraged me to come and finally take a lesson on the knitting machine I bought when the boys were still babies -- the one that has sat idle on my closet floor ever since. I am finally ready to take that first step...if only so I can copy jordana's beautiful work. 


Monday
Oct312011

happy halloween!


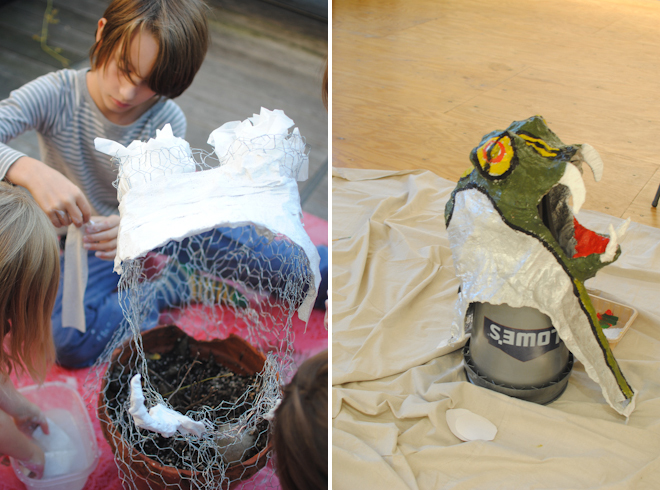
The boys had a great time making costumes with me this year! I was wanting to try something new so was pushing for big paper mache masks...Owen agreed that that could be fun and decided he wanted to make a snake head. Although I am not sure that "snake" is immdiately recognizable I think we made quite a cool mask, and he is really happy with it. 


Because I had paper mache on the brain, I volunteered to help out in Owen's class when his teacher announced that they would be making paper mache globes as part of their studies. I am so glad I did! I learned a whole new technique...you can buy plaster strips like the ones used by doctors to make a cast! I ended up buying a 20 pound box of it for our project. Apparently this is a widely known technique but it was new to me. It made the project go much faster since the plaster dries very quickly and is quite solid so you really only need one good coat. We used wire mesh to make an armature first. A couple words of caution if you try this in the future: first, the wire mesh is quite sharp so be sure to wrap the ends in a good heavy duty tape like electrical tape; second, the plaster gets a lot heavier than good old fashioned newspaper and glue paper mache. It is only a good idea for a pretty big sturdy kid.


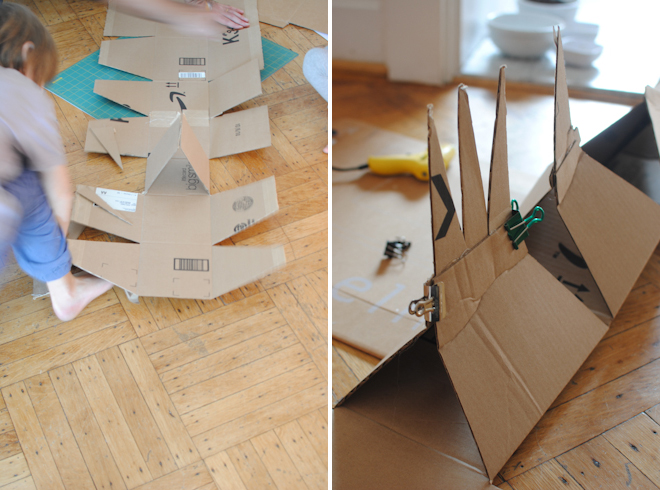
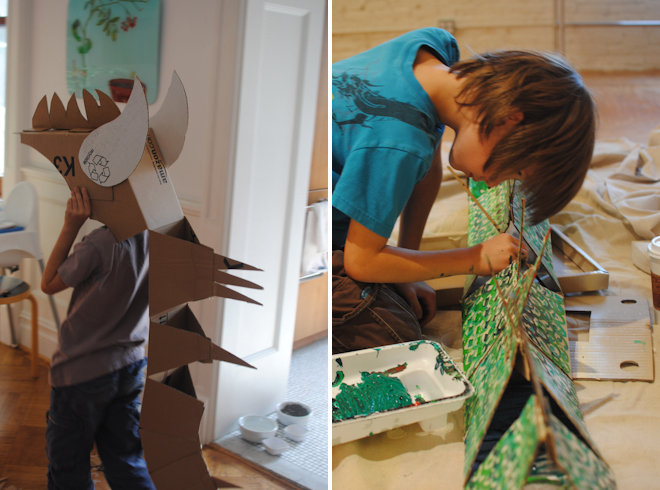
As I have mentioned in the past, Oliver loves to think of the most impossible thing he can when I ask him what he wants to be. This year the answer was "a thorny devil". At first I thought that was something he was making up but when I googled it sure enough I found the most complicated looking little lizard I had ever seen. By the time we finished Owen's mask I was sort of done with paper mache (it's messy and time consuming!) so I was trying to figure out how on earth I was going to make a thorny devil costume. I considered trying to sew something using felt but worried that it would look too babyish. Finally we decided to try making it out of cardboard and as we opened up and flattened all of our cardboard boxes we got very inspired!


We were on track with the construction but when it came time to paint the costumes it evolved once again. Oliver really wanted to make it look like the photo we had found and was ready to spray blotches of spray paint all over it. Although it could have been cool I was worried that we were going to make a big mess. We ended up spraying it with a base coat of ecru spray paint but I also had bought a bunch of acrylic paints for both Owen and Oliver to use. As we painted it, the rather aggresive looking lizard morphed into a more cheerful dragon. Nonetheless, we had a great time painting it together and thankfully Oliver did not hold it against me that it got prettier with all of it's green scales. He did announce that he will not be able to say he is a thorny devil anymore though!


If you are wondering, we did not forget Bea. Although I am writing this with about 24 hours until trick or treating, I have yet to start her costume!! She loved Owen's owl costume from last year so much that she wants to be a baby owl this year. The bad news is that his costume is too big for her, but the good news is that I know how to do it again pretty easily!


Happy halloween everyone!

Friday
Oct282011

pasta carbonara 


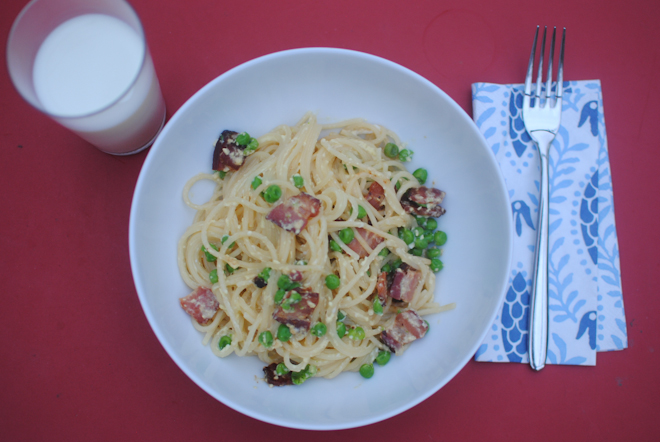
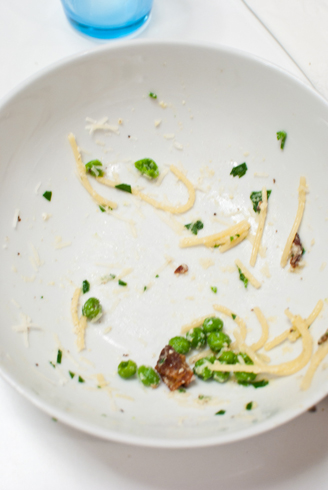
If there is one dinner that produces a table full of cleaned plates it is pasta carbonara. It is a really quick dinner to make too...the only trick is the timing: Cook the bacon before starting the pasta. Have all the remaining sauce ingredients ready to go. Once the water is boiling you can cook the pasta and start cooking the onions at the same time. The egg mixture must be added to the pasta immediately after the pasta is drained because the heat of the pasta is what cooks the eggs. Cream is not esential in pasta carbonara but many people are wary of eating runny eggs and have the tendency to overcook them "just to be safe." By adding cream the eggs are a bit less likely to scramble.


PASTA CARBONARA


1 package fettucine or spaghetti
8 ounces bacon, cut into 1 inch pieces
1 small onion, finely chopped
1bag frozen peas
3 eggs
1 cup half and half
Salt and pepper
Grated parmesan cheese


Bring large pot of water to a boil and add a generous amount of salt. 


Heat a large skillet on high heat and add bacon. Cook, stirring often, until crispy. Transfer bacon to a paper towel lined plate with a slotted spoon. Drain all but a tablespoon of the bacon fat from the pan. Now is the time to put the spaghetti in the boiling water.


Combine eggs and 2 tablespoons half and half in a glass container and stir with a fork until well combined and set aside.


Add onion to pan with bacon fat and saute until translucent. Add peas and stir until they are thawed. Add remaining half and half and stir to combine. Reduce heat to a simmer and season with salt and pepper.


Cook pasta until al dente, and drain. Place pasta back in pan and immediately add egg mixture. Stir continuously until pasta is well coated and egg mixture is thickening. Add sauce in skillet to pasta. Add reserved bacon and serve with parmesan.


Thursday
Oct272011

first birthday carrot cake


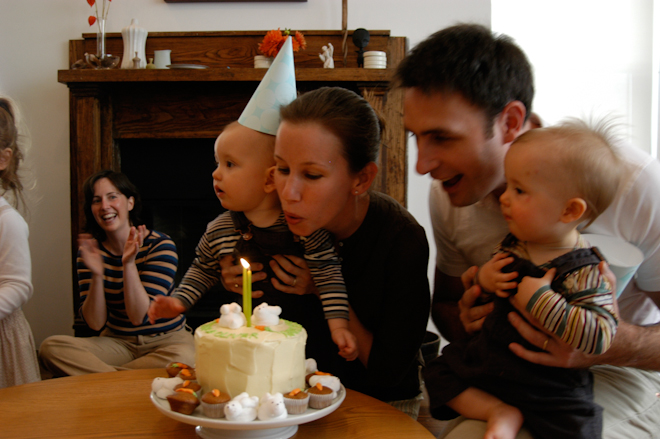
Happy birthday Owen and Oliver! It is hard to believe that this photo was taken 8 years ago! In honor of the boys birthday it seems fitting to share a nice cake recipe. There is always great debate about what should be served at a first birthday party...does the birthday boy or girl get their first bite of cake? If yes, can it be chocolate? I decided that cake was necessary but maybe carrot cake with cream cheese frosting was a good "healthy" choice. I developed this recipe while working as the food editor of Martha Stewart Baby magazine. 


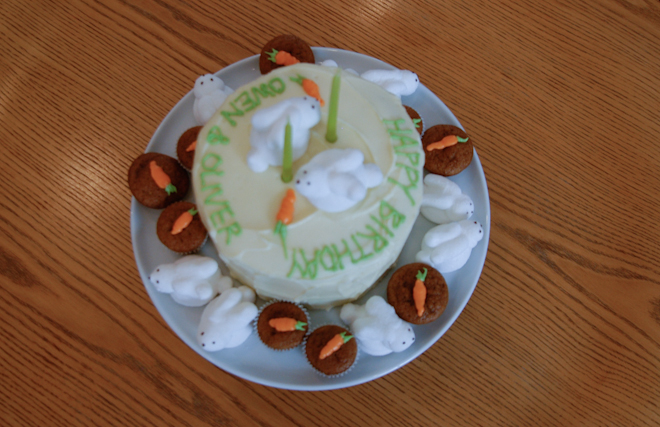
To decorate the cake I used homemade marshmallow bunnies that had also appeared in an issue of Martha Stewart Living. Because we had a large group I also made a batch of the cake and baked it in mini muffin pans...just a dab of frosting was needed to pipe the cute carrots and they were perfect little treats for all the babies.

Wednesday
Oct262011

halloween costume: ladybug


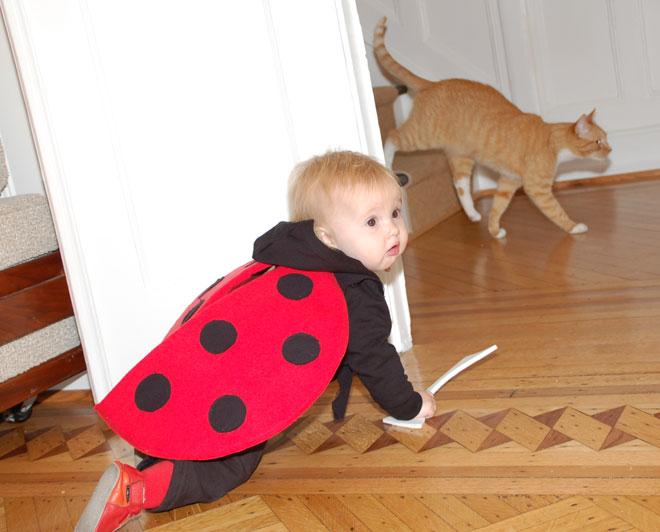
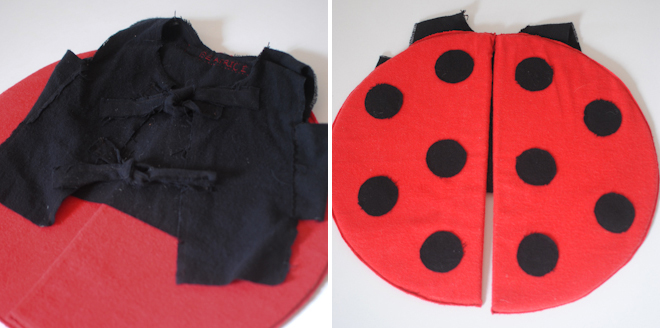
Bea's first Halloween was the year the boys opted to be a spider and a bat so in keeping with that theme she was a ladybug. We had some sheets of foam left over from a project Adam was working on which made this costume very easy. I cut two semi sircles from the foam to make the shape of the wings.  I layed out some red fabric and folded it in half, inserting a foam wing so the straight side was against the fold. Then I layed out 5 black dots on each wing, pinning the dots to the red fabric where I wanted them. I sewed on the dots first, and then repositioned the foam. I sewed around the edges of the foam, as closely as I could using my sewing machine, and then just trimmed the excess fabric off around the edges. 


I dressed Bea in a black sweatshirt and sweatpants from American Apparel (our go to base for this kind of costume) and then cut a very simple vest out of a small scrap of black fabric. I made a rectangle about the size of her back first. I then cut a second rectangle for the front and cut it in half so it opened down the middle. I used a few little strips of cloth to make shoulder straps and some smaller square side panels to connect the front and back pieces. A couple more strips at the front tied the vest closed. Once the vest was finished I sewed the wings to the back of it.


Tuesday
Oct252011

leaf rubbings


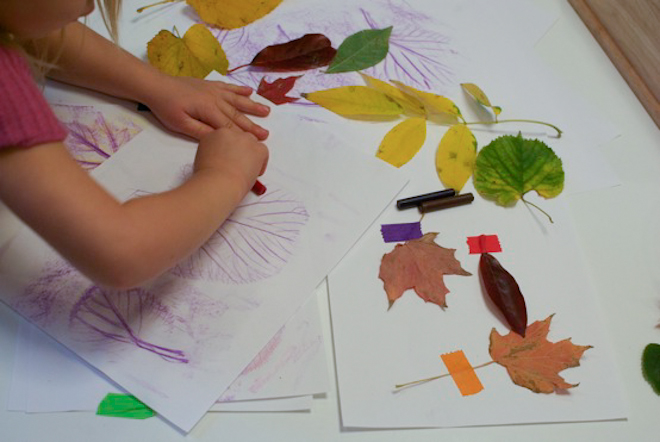
It seems that we are always wracking our brains for clever things to entertain our kids. The best activities are, of course, the ones that are literally right under our noses: One day after school my daughter and I went for a walk in the park and very instinctively started collecting leaves. When we got home I showed her how to make leaf rubbings, which I had all but forgotten about with my boys. It kept her busy for about an hour!

Monday
Oct242011

skull cupcakes


My friend Jodi came up with these brilliant marshmallow skulls for Martha Stewart Living. As soon as I saw them I knew my kids would love them. My boys still bring a treat to school for their birthday and these skulls on top of a mini cupcake are perfect. One cake recipe makes enough mini cupcakes for both boy's classes and the skulls more than make up for the tiny portions. The directions call for chocolate sprinkles but we used the multi colored ones that I already had. Best of all, the skulls are easy enough to make that the kids got to help too.


Friday
Oct212011

iris cafe


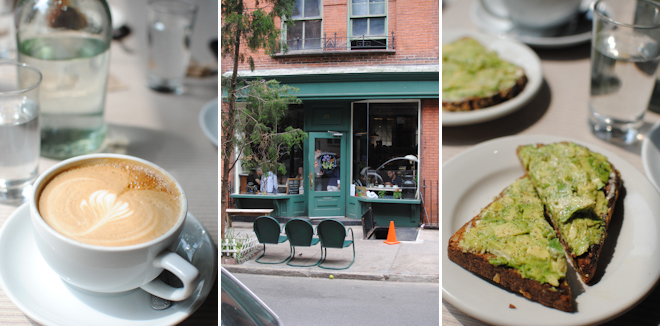
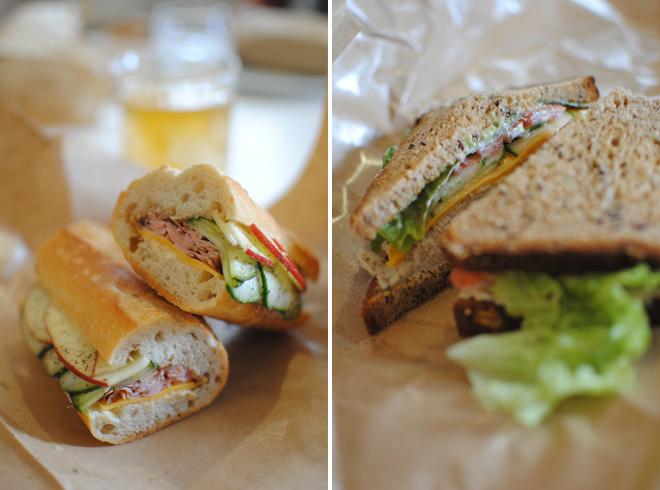
Every once in a while you find a place that you wish was around the corner from home...where everything on the menu sounds great. For me, Iris Cafe is one of those places. It is in Brooklyn Heights and I go there often to meet my friend Randall. The avocado on toast is the perfect breakfast for me - I do not love eggs and it is surprisingly difficult to find savory breakfast alternatives. They also serve delicious sandwiches (my favorite is the ploughman, above left), have great coffee, and a lovely vibe. 

Wednesday
Oct192011

halloween costume: bat


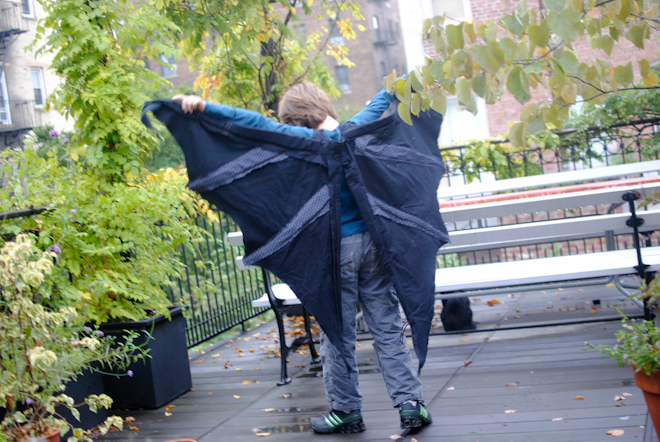
The year that Oliver was a spider, Owen was a bat. Bea was just under a year old and I was very busy with twin 5 year olds and a mobile little one, so there was not a lot of time for elaborate costumes. Like the spider, this one is quite easy. I bought about a yard of black flannel. In keeping with my "do the least possible while still making a costume" attitude I folded it in half diagonally and cut it into two triangles. I dug up some foam* that Adam had used for another project and cut eight long strips which I placed on the triangles to create sections. I placed two of the strips on the outer edges of the wings and folded the fabric over it, sewing it to secure. I used the remaining pieces to divide each wing into thirds, and cut strips from a remnant of a dark patterned fabric which I sewed over the foam to conceal it.


*NOTE - If you do not have a big piece of foam lying around I am sure other things would work for this...the idea is to simultaneosly give the wings some structure and make them a little more life-like and visually interesting. I bet thin strips of cardboard would work pretty well in a pinch.  


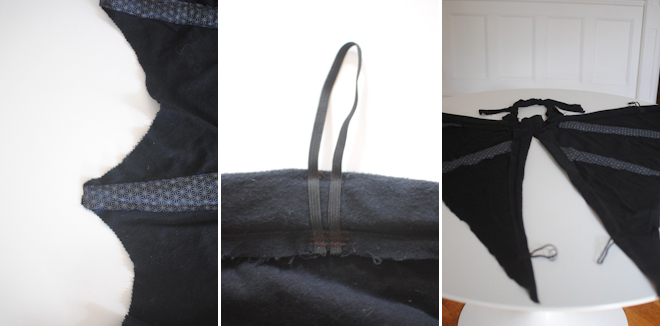
Once the basic wing structure was complete I used pinking shears to cut arcs between the foam points (see detail above left). Once the two wings were done I sewed them together and attached another scrap of fabric in the center so it could tie around the neck like a cape. I sewed black elastic along the outer edges so that the wings could be attached at the wrists and ankles (photo above right). Note: The photo of Owen wearing the bat wings was taken last week...the "wrist straps" are now practically at the elbows, and the "ankle straps" did not even come close to fitting around his ankles! If you make this costume make the wings first and then hold them up to your child to see where the elastic needs to be added.