Entries in baking (10)

Monday
Sep102012

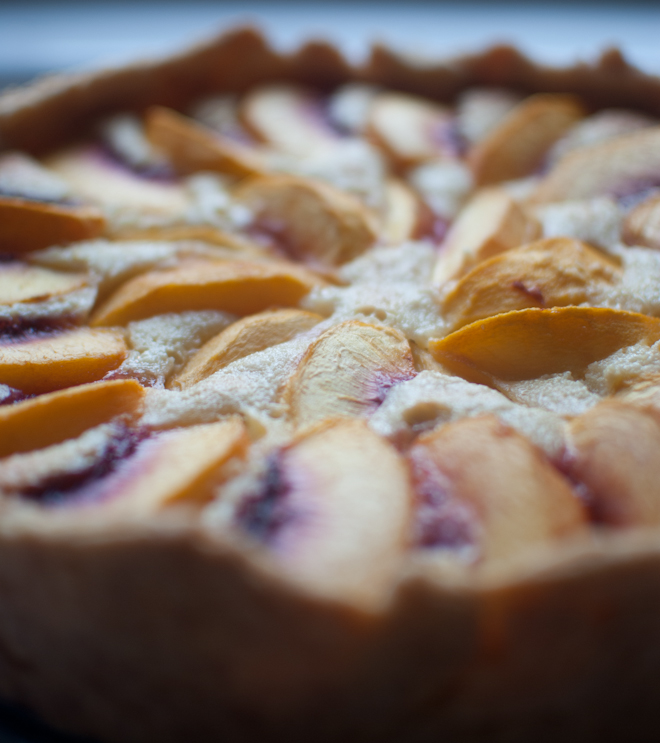
peach frangipane tart


Peaches were exceptionally good this year and all summer I planned to make a peach frangipane tart...I finally did on the last night of our vacation before returning to Brooklyn. Frangipane is made by combining ground almonds with butter and eggs and is the perfect compliment to sweet juicy peaches. Different from other peach tarts, this is never mushy...the almond cream puffs up around the peaches giving structure to the tart. Not too sweet, but very rich, just a sliver will do. This tart will serve 8-12 people.


PEACH FRANGIPANE TART

for the crust:

1 1/2 cups all purpose flour

2 teaspoons sugar

1/2 teaspoon salt

11 tablespoons unsalted butter, cut into pieces

4-6 tablespoons ice water


for the frangipane:

1 1/2 cups slivered almonds (7 ounces)

2/3 cup sugar

4 tablespoons unsalted butter, softenned

2 large eggs

1 teaspoon pure vanilla extract


4 peaches


To make the crust combine the flour, sugar, and salt in the bowl of a food processor. Add butter and pulse until combined and there are pea sized chunks of butter. Continue pulsing while adding the ice water. Do not over process. The dough will come together when you turn it out onto the counter and press it together forming a disk. Chill for 30 minutes before rolling.


Preheat oven to 350°. Roll dough on a lightly floured surface until it is large enough to fill a 9 inch springform pan. Carefully fold dough in half and position it in the pan, unfolding carefully and pressing dough up the sides of the pan. Line with parchement paper and weigh it down with dried beans or rice. If you have time you can chill the dough again before baking (I did not do this). Bake the crust for 30-40 minutes or until the crust is dry and lightly golden. Set aside.


To make frangipane, combine almonds and sugar in the bowl of a food processor and process until it is a powder. Add the butter and pulse to combine. Add the eggs and vanilla and process until smooth. Pour batter into the pre-baked tart shell.


Cut peaches in half and peel. If the peaches are very ripe the peel should practically slip off the peach. Cut into 8ths and arrange in the tart shell on top of the frangipane. Bake until the frangipane is puffy and golden brown. I expected this to take about 50-60 minutes but it actually took over an hour. Keep an eye on it...if the filling still looks quite moist it is not done yet.

Wednesday
Dec212011

aunt persis's cookie


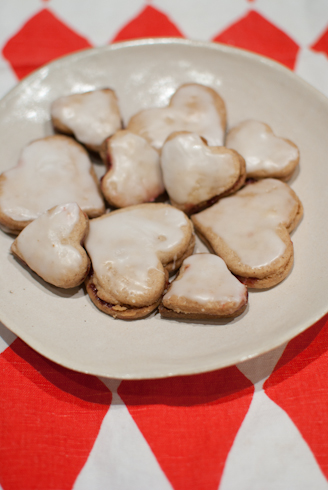
These are one of my very favorite cookies...once they are cool they get sandwiched with raspberry jam and glazed with icing. Our friend Teddy first introduced them to our family in the 1980's and she learned the recipe from her aunt Persis. Now they reappear every year at Christmas when my parents bring their famous cookie platter to our house.


Not just for Christmas, my dad made this plate of them for our family for Valentine's day, last year. When I asked for the recipe I got a handwritten note in perfect script that said the following:


Aunt Persis's Cookies


3/4 lb. butter
3 cups flour
1/2cup + 1 1/2 tablespoons sugar
1 teaspoon cinnamon
1 teaspoon cloves
Mix.
Roll thin and cut into hearts. 
Bake 375.
Put together with raspberry jam.
Frost with powdered sugar and water. 


I found both the handwriting and the simplicity of the recipe charming. Lauren and Lila made a batch of the cookies (seen cooling in the photo at the top of this post) this week for a family gathering to celebrate Lila's birthday. Lauren and Dad both agreed that a few notes might be helpful for anyone who wants to make the recipe: 


The butter should be very soft so all the dry ingredients can be incorporated.

Once the dough is made divide it into two disks, wrap in plastic wrap, and chill for 45 minutes before rolling.

The cookies take approximately 10 minutes to bake.

Wednesday
Dec142011

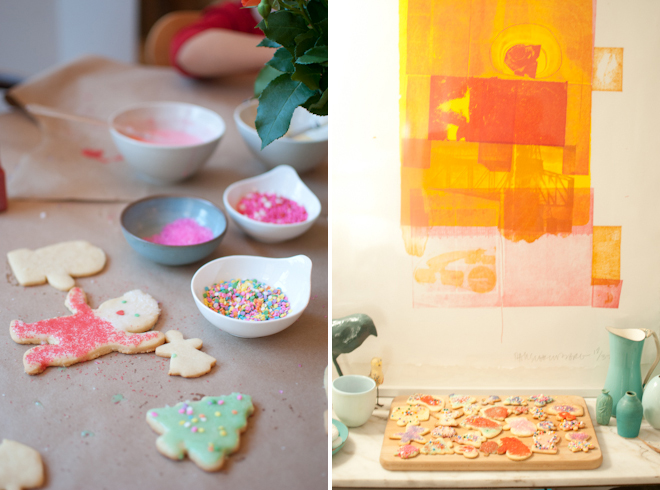
christmas cookies


Baking Christmas cookies is a big part of our family's holiday tradition. Every year my parents, and especially my father, make as many batches of cookies as they can during the month of December. They package them up as gifts for friends and always bring a big batch to our house on Christmas day. Everyone has their favorites but the kids especially love decorated cookies.


If we find ourselves with an afternoon after school, or a free day on the weekend, we also like to make a few batches of cookies and decorate them. Unlike at my parents house, when we make cookies they all get eaten so they don't make it onto the cookie platter on Christmas Day.

Friday
Oct072011

spiderweb cupcakes


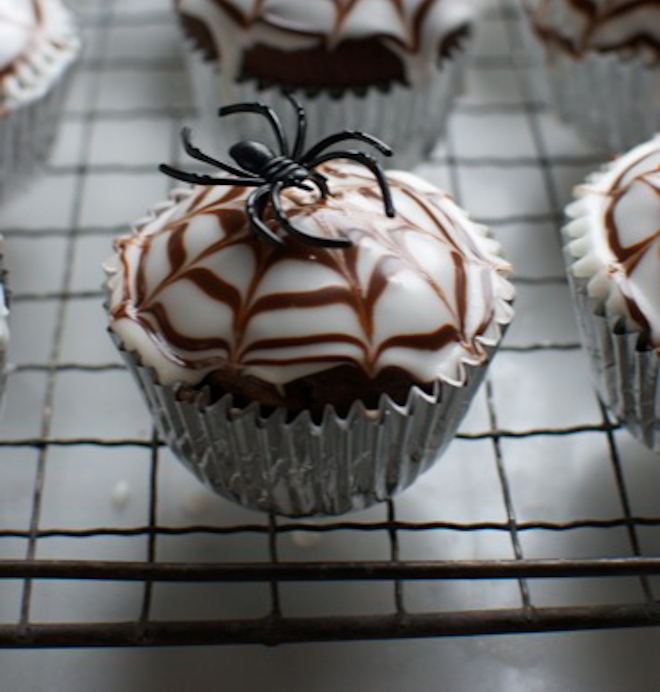
My boys were born at the end of October so we have had plenty of Halloween inspired birthday parties. These cupcakes impress young guests and they are quite fun to make.


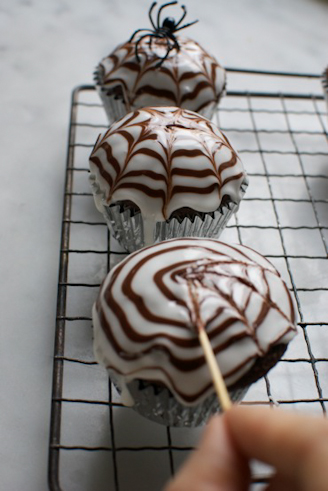
The decoration is way easier than it looks: The white frosting is made with a box of confectioners sugar and 5-8 tablespoons of milk. Combine 3 cups Confectioner's sugar with 4 tablespoons of milk. Add the remaining milk very gradually, checking the consistency as you go. You want the frosting to be thick enough that it coats the cupcake well and does not run off the top, but thin enough to give a smooth surface. When you think you have it about right test it on one of your cupcakes. If it is too runny add more confectioners sugar. If it is too thick, add a little more milk - just a few drops at a time. Melt chocolate chips in a bowl set over a pan of simmering water. Put melted chocolate in a piping bag with a small plain tip, or in a paper cone. Coat the cupcakes with the white frosting. Pipe a spiral of chocolate on top. Use a toothpick to create the web by starting in the center of the cupcake and drawing the point to the edge, repeating until the web is complete. Top with a plastic spider ring. I work in batches of 6 cupcakes to ensure that the frosting and chocolate remain soft enough to get the desired effect. Once the frosting starts to set the chocolate does not blend with the frosting to create the webs. (There is a wide margin for error, I promise!) 


You can use whatever cake or cupcake recipe you love. I am partial to this one from Martha Stewart.

Monday
Aug222011

banana bread with mascarpone and honey


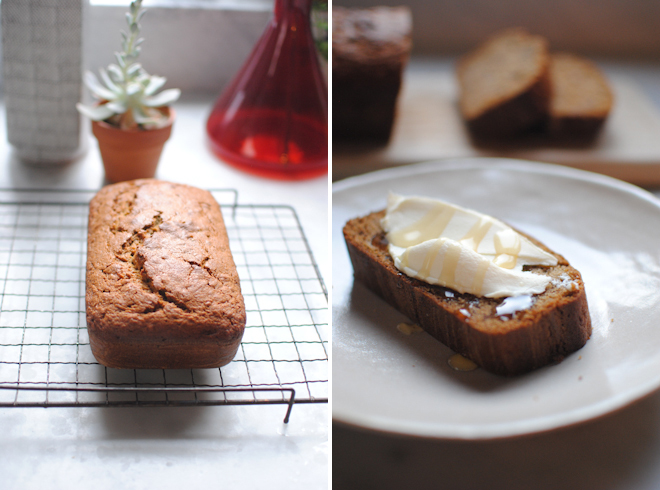
A few years ago our family spent 6 months living in Cape Town, South Africa. During that time we had a favorite breakfast spot where we always ordered the same thing: soft boiled eggs with soldiers for Adam ("soldiers" are little strips of toast, cut so that they can be dipped into the runny yolk), and toasted banana bread with mascarpone and honey for me. It was divine! When I made this banana bread there was no need to toast it...everyone insisted on eating it before it had even fully cooled. 


BANANA BREAD

1 stick unsalted butter, softenned

1 cup firmly packed brown sugar

3 very ripe bananas, mashed

1 teaspoon vanilla extract

2 large eggs, lightly beaten

1 1/2 cups flour

1 teaspoon baking soda

1 teaspoon ground cinnamon

1/2 teaspoon salt


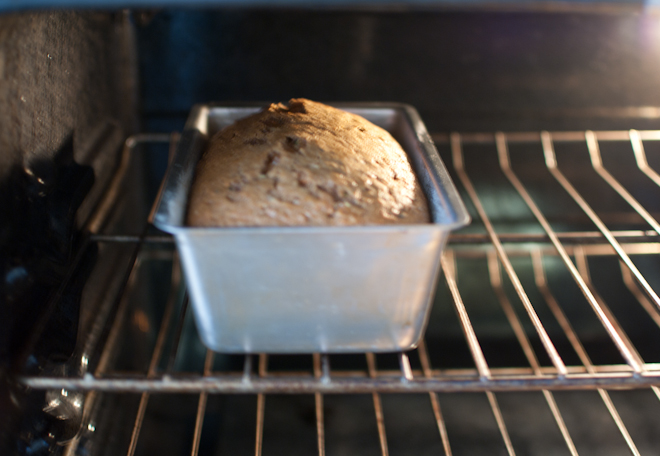
Preheat oven to 350°. Grease and flour a loaf pan and set aside. Cream together butter and brown sugar in a large bowl. Add mashed banana, eggs, and vanilla and stir to combine. Add flour, baking soda, cinnamon, and salt and stir to combine. Pour into prepared pan and bake for about an hour, or until a toothpick inserted into center comes out clean. Set aside to cool for 10 minutes before unmolding onto a cooling rack. 


Slice bread and top with mascarpone and a drizzle of honey.

Friday
Jul012011

zucchini bread


When Lauren was pregnant with her second child she developed gestational diabetes. She really missed carbs and sugar and always had her eye out for things that would satisfy her cravings without hurting her blood sugar.


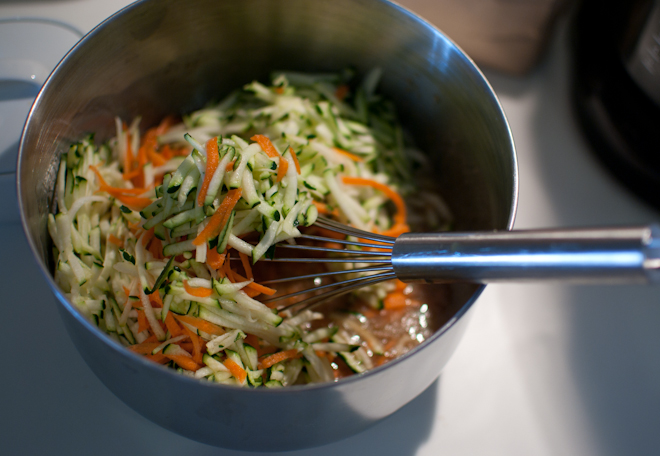
One day while I was at her house she was making this bread. The original recipe was from Epicurious.com and can be found here. She made a few changes in an attempt to keep on her diet and the result was great. Just look at that bowl full of vegetables! No guilt required.


Recipe adapted from Epicurious.com:

1 cup all purpose flour

1 cup whole wheat flour

2 teaspons ground cinnamon

1 teaspoon baking soda

1/4 teaspoon baking powder

1/4 teaspoon salt

1 cup sugar

3/4 vegetable oil

3 large eggs

1 teaspoon vanilla extract

1 1/2 cups grated zucchini

1 1/2 cups grated peeled carrots

1 cup chopped walnuts, toasted


Heat oven to 350°. Butter and flour a 9x5 loaf pan and set aside. Sift together both flours, cinnamon, baking soda, baking powder, and salt. Beat sugar, eggs, oil and vanilla in a large bowl. Add zucchini, carrots, walnuts, and dry ingredients and stir until well combined. Transfer batter to prepared loaf pan and bake for an hour and 15 minutes, or until top is springy and a tester inserted into center comes out clean. 


Allow bread to cool in pan for 15 minutes before unmolding.


Friday
Jun172011

strawberry shortcake


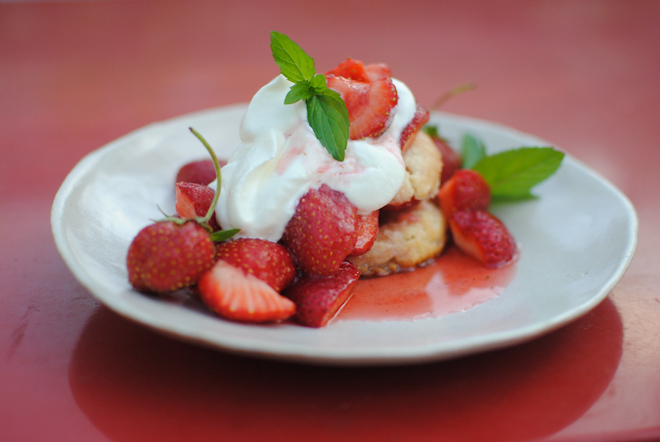
Strawberry shortcake makes a perfect father's day treat - strawberries are at the peak of their season, and even small kids can help make the shortcakes. I am a fan of flaky bisuits (as opposed to cake), probably because that is what I grew up with - it is one of my own father's favorite desserts. 


FOR THE STRAWBERRIES (serves 6-8)

2 quarts strawberries, stemmed and hulled, cut into quarters or halves depending on size

1/4 cup sugar

2 tablespoons cointreau


Combine in a bowl, stir, and set aside for at least an hour before serving to release juices.


FOR THE BISCUITS (makes 6-8, I doubled the recipe in these photos)

1 3/4 cups flour

1 1/2 teaspoons baking powder

1/2 teaspoon salt

1 stick cold unsalted butter, cut into small pieces

3/4 cup buttermilk

1 tablespoon heavy cream


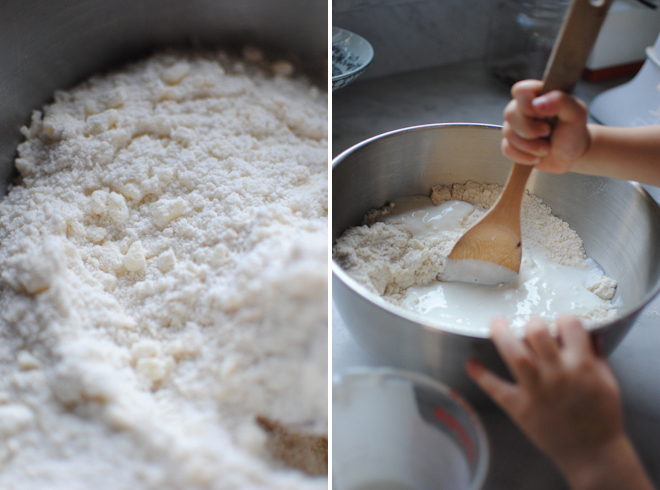
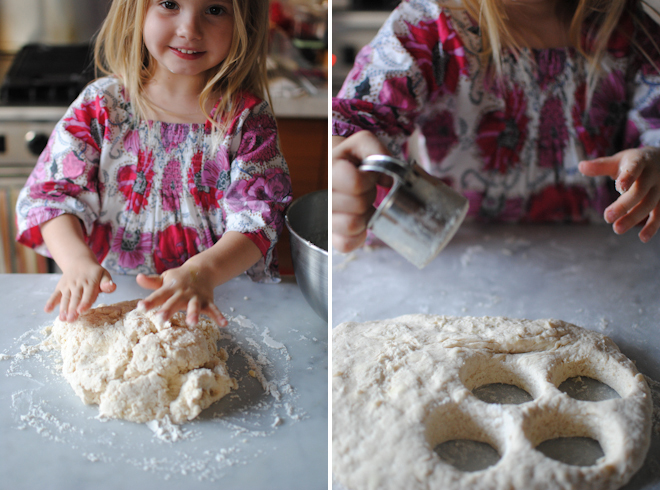
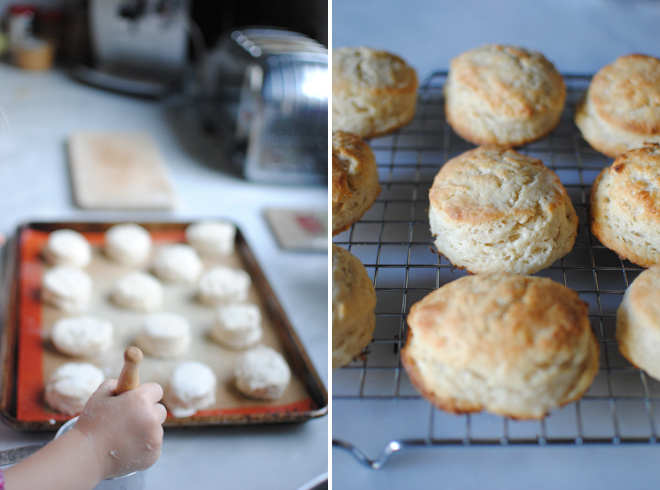
Preheat oven to 425°. Combine 1 1/2 cups flour, baking powder, and salt in a food processor and pulse to combine. Add butter and pulse until the mixture resembles coarse meal and the butter pieces are the size of small lentils. Transfer to a bowl and stir in buttermilk.  Sprinkle some of the remaining flour on a clean surface. Transfer dough to floured area and gather into a ball, gently kneading a few times. The dough will be very wet but that is ok. Press into a disk a little more than an inch thick, dusting top and bottom with a little more flour. Cut into rounds using a glass dipped in flour, or a 2 inch biscuit cutter. Place biscuits on a sheet pan lined with a silpat or parchment paper and brush tops with cream. Bake until golden brown, about 15-20 minutes. Transfer to a rack to cool.


When ready to serve split shortcakes and spoon strawberries and their juices between the halves. Top with a dollop of freshly whipped cream and some more strawberries. 

Monday
Jun132011

granola


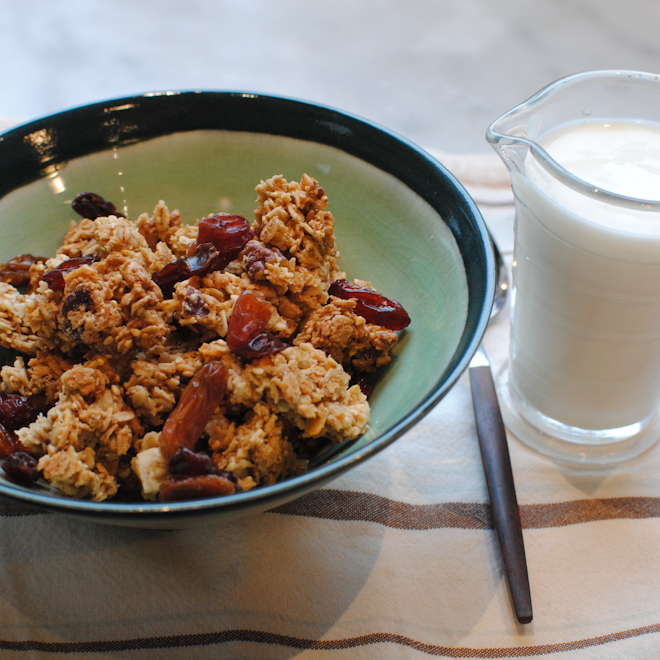
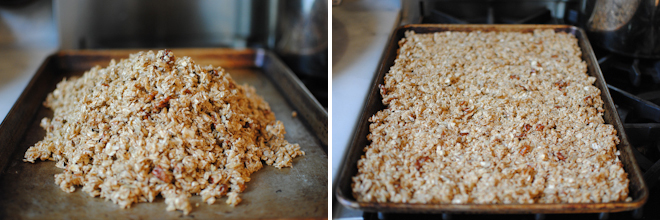
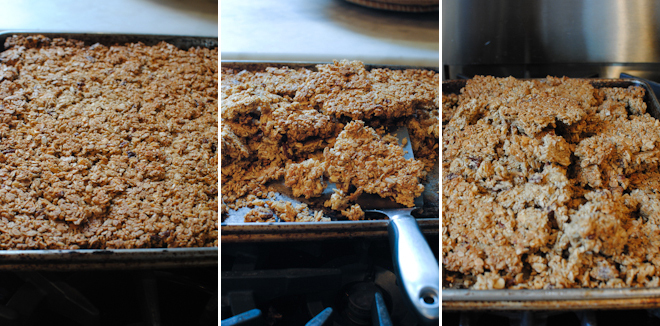
I probably seemed a little crazy posting about oatmeal last week considering it was one of the hottest days we have had this year! For those who prefer to leave hot cereals for the cold months here is a delicious granola recipe. I personally prefer granola that is really crunchy and chunky. To acheive that I press the granola into a solid mass on a sheet pan before baking it, and then flip it halfway through. This makes it almost like a giant crumbly granola bar that you can break up after it has cooled. 


I have decided what to put in this recipe based on my own family's tastes: one son doesn't really like nuts but does not seem to mind them here as long as they are not huge pieces...as a result I use sliced almonds and pecans, both of which break up easily but add lots of flavor and nutrition. I personally love coconut and sesame seeds so there are healthy doses of each included as well. You can really experiment and see what your favorite combinations are. Hazelnuts add a great crunch and would pair well with dried cranberries or cherries. Pistachios add a lovely touch of green and work well with dried apricots. 


5 cups rolled oats

2 cups nuts of your choice ( I used 1 1/4 cup sliced almonds and 3/4 cup pecans, broken into pieces)

1 1/4 cups shredded coconut

1 cup sunflower seeds

1/4 cup sesame seeds

1 teasooon cinnamon

1/8 teaspoon of cloves

A dash of sea salt (omit if your sunflower seeds are salted)

1 cup maple syrup

4 tablesoons of olive oil

4 tablespoons of unsalted butter

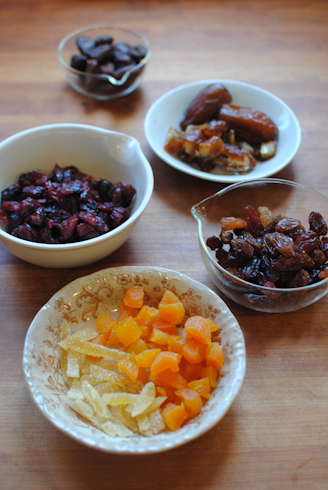
Fresh or dried fruit 


Heat oven to 350°. Mix all of the dry ingredients in a large bowl. Combine the maple syrup, olive oil, and butter in a small saucepan and heat over medium heat until the butter has melted. Pour into granola mixture and stir until thoroghly combined and mixture is moist throughout. Transfer onto a sheet pan (or rimmed cookie sheet) and press into an even layer. The more packed down it is the more chunky the granola with be. (If you prefer less chunky granola omit this step.) Bake for 20 minutes, or until fragrant and begining to brown. If you have a second sheet pan that is the same size invert mixture onto it. If not, use a spatula to turn mixture over, and then press it into a solid mass again. Retrun to oven until nicely browned, about 15 minutes more. Allow granola to cool in the pan before breaking up.


Loosen granola from the pan with a spatula and break it up into chunks. Store in a glass jar or ziplock bag.


You can stir in dried fruit all at once, or just have it ready and stir it in when serving. Sometimes I keep it separate so each member of the family can add what they like, and vary it for each serving. Alternatively, during the summer months, you can skip the dried fruit and add fresh berries instead.


Monday
May302011

barbie cake


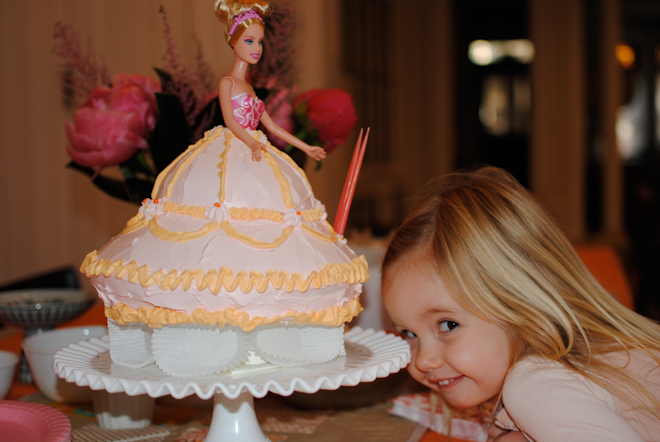
Although I loved baby dolls as a little girl I never liked Barbie. As I got older I learned to dislike her for all she represented, but long before that, I just didn't get how to play with her and did not understand why so many of my friends loved her so much. As a result I was bewildered, and a little dismayed, when my daughter became obsessed with her before her third birthday. I think it started while we lived in Cape Town, South Africa: we would visit the local video store and Bea (at age 2 1/2) would wander in and be drawn straight to the row of pink videos that I never would have even seen...they were at knee level for me but that was eye level for her. My sister encouraged me to let go of my own disdain and let Bea live out all her Barbie dreams. I listened, and for her third birthday she got her first Barbie doll as well as this Barbie cake. She loved it so much that she asked for another one when she turned 4. I had made my first Barbie cake about 10 years earlier when my young sister-in-law turned 5 or 6. Once you get over the initial horror it is actually a pretty fun cake to make. I used this Barbie because her leotard is painted on which works perfectly as the top of her dress, and she can be washed without doing any damage to her outfit.


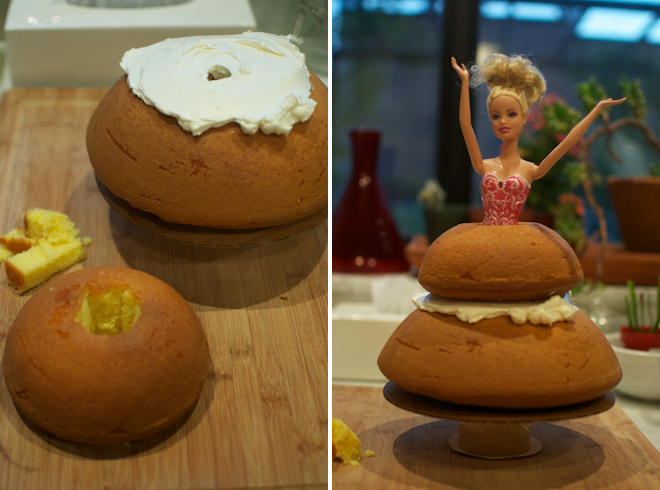
The photo above is the first cake I made for Bea. I learned a few things...as you can see in the photo, I had a height issue. Barbie's unnaturally long legs were taller than my very tall cake layers! Her feet needed to stick right through the bottom in order to get the cake to start at the waist. Luckily I had an almost used up roll of duct tape and some cardboard rounds. I taped the tape roll to the cardboard round and cut a hole in the center for the feet to poke through. I had to cover this whole situation so tucked white cupcake papers around it. Not perfect, but it covered the mess! 


In order to get the full tiered skirt I baked two cake layers in metal bowls. Stack your bowls to get an idea of whether they will give you the shape and height you want. You will need to determine whether the bowls you are using need one recipe of cake batter or two. The easiest way to determine this is to fill regular round cake pans (as many as your batter calls for) with water about 2/3 full; then pour that water into the two bowls to see if it fills them about 2/3 full. If it does, then you should have no trouble. If it does not fill them you will need to double your usual recipe. You may end up with extra batter but you can bake it in another bowl or make a few cupcakes. By the way, here is a great chocolate cake recipe - it is super moist and keeps for days. Bea wanted a lemon cake and since I did not have a favorite recipe I saved myself the trouble and used a box mix for that one.


Once the cake is baked and cooled you will need to cut holes in the centers where you will insert Barbie's legs. In the photo below right you can see the tape roll under the cardboard round.


I use a variation on Martha Stewart's butter cream frosting recipe. The original recipe is very rich, and a cake like this which is heavily decorated and uses lots of frosting, so I cut back on the butter. The butter is what makes the frosting so firm and stable but I find that it still holds its shape very well with 75% of the butter. Everyone has different tastes...you can use your own preferences to decide how much to use. Also, this is a very large batch of frosting. You will not use all of it. I like to make a giant batch knowing that it leaves room for error - when I am mixing the colors I use a small bowlful at a time knowing I can add more plain frosting if the color gets too dark. Or that if I do something I really do not like I can scrape it off without having to make more frosting. If you are a confident decorator you can make a smaller batch of frosting and avoid the waste.


Once you have the layers stacked and the Barbie in place do a "crumb coat." By spreading a thin layer of frosting over the cake you give yourself a nice base to pipe on, and you seal in all the crumbs so that they do not get into your frosting. After you apply the crumb coat place the cake in the refrigerator for at least 15 minutes or until the frosting is firm.


You can vary the way you frost the cake to suit your whim. On the first cake (top photo) I just  spread a layer of pink frosting on the whole skirt and then piped some yellow lines and ruffles on it to give it a little princess-like embellishment. For the 4th birthday version I opted for a layer of ruffles over most of the skirt. 
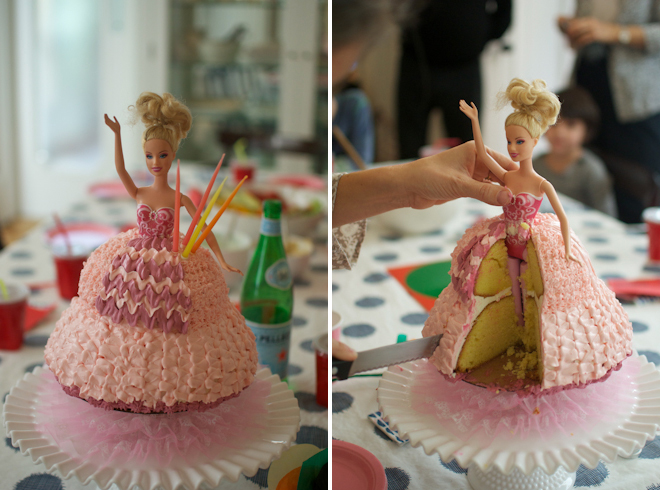


Initially the skirt was only pale pink and something made me add a little purple ruffle across the front. Not sure it really added anything though. 


A few other tips: Long skinny candles (or candles with some sort of little holder on the end) are helpful so you don't have to make big holes when you sink them into the frosting. Also, hold onto Barbie as you start slicing the cake. The cake can get off balance pretty easily up on that tape roll and it would be a shame to have the whole thing topple over! Last but not least, if you want some frilly ruffles to tuck between your cake plate and the elevated cake I found this and was happy with how it filled the gap.


Monday
May092011

honey custards


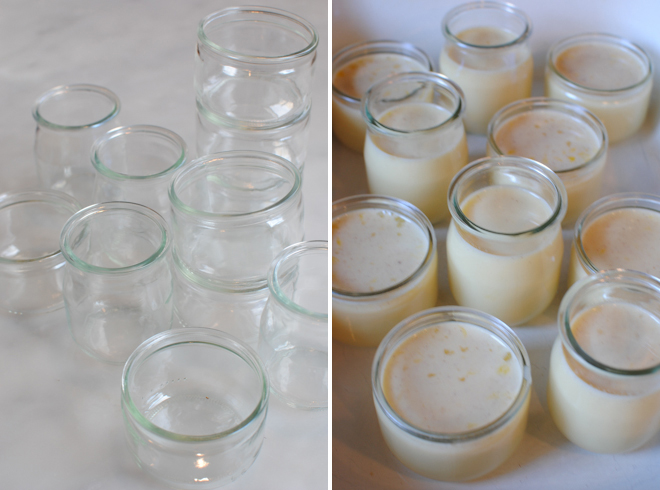
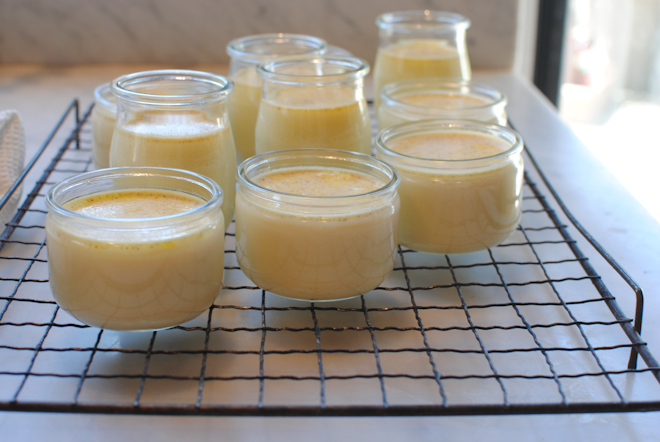
Every time we travel abroad I become obsessed with the nice little glass jars that yogurt and puddings are sold in. Not only does the yogurt seem to taste so much better, but the glasses are perfect for the kids to use at meals and are virtually indestructible. I no longer bring them home - I have collected more than I need. 


Custard is one of my dad's favorite foods so while we were away I made a batch using all the little cups we had gathered on the trip. You can bake the custards in any oven proof dish - small ramekins would be a close match for the glass dishes I have collected. You can also bake the entire recipe in a glass or ceramic pie plate but the cooking time will vary. 


Since we were away and had minimal ingredients in the pantry honey added flavor while simultaneously sweetening the custard so I did not have to buy a vanilla bean. Since being home I have made these again using maple syrup in place of the honey - use whichever flavor you prefer. 


Honey Custard

(makes about nine 4 ounce custards)

3 cups milk

1/3 cup honey

Dash ground cinnamon

4 eggs


Preheat oven to 350°. Place milk, honey, and cinnamon in a small saucepan and heat until warm and honey is dissolved. Place eggs in a medium bowl and whisk lightly. Stir in warm milk mixture while continuing to whisk eggs. Skim bubbles from surface of mixture.

Place custard cups in a baking dish that is about the same depth as the custard cups. Fill custard cups with custard and fill baking dish with boiling water about 2/3 of the way up the sides of the custard dishes. Place in oven and bake for about 30 minutes, or until edges are starting to set but centers are still wiggly like jello. Remove from oven and allow to cool for 15 minutes. Transfer custards to the refrigerator and chill several hours.