Entries by eclecticmom.com (250)

Tuesday
Aug022011

snowcones


My sister and I found a snowcone maker at Target last summer. All it does is crush ice, which you can do in a blender, but this gadget does it evenly so you don't get any big lumps in the mix. The silicone cones make it extra cute...we bought extras in solid colors since we usually have lots of guests.  


Rather than pouring super sugary syrups over the ice we just use fruit juice. The kids still think they are a big treat! The other thing you can do, if you plan ahead a little, is freeze juices into cubes so that the ice itself is already flavored. 

Monday
Aug012011

beets and beet greens


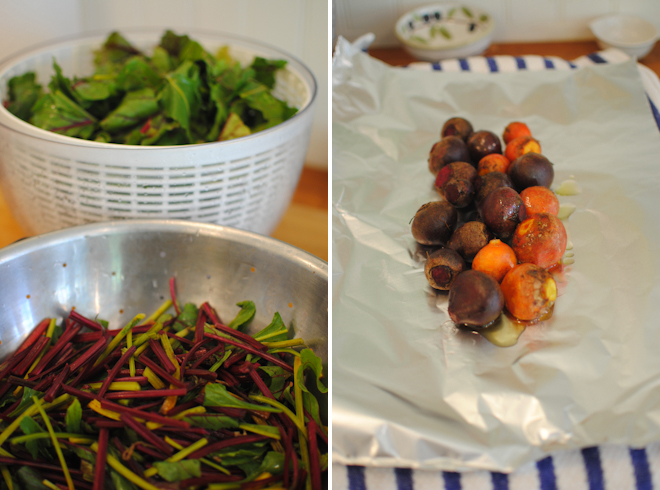
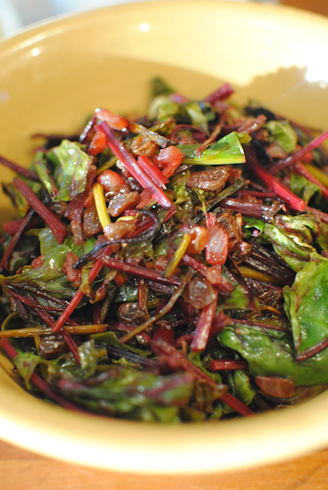
Roasted beets have been a longtime favorite summer dish but I am developing a love of beet greens as well. After trimming the roots from the stem I divide the stems into 2 parts: the stalks and the leaves. Cut the stalks into 2 or 3 inch long pieces and saute them in olive oil with a little chopped onion. Once they are soft, add coarsely chopped leaves. The leaves will shrink down as they wilt...pile as much as you can fit into the saute pan and turn the mixture with a pair of tongs, adding more uncooked leaves as you go. I like to add some raisins too. Soak the raisins in a mixture of a little hot water and a couple tablespoons of red wine vinegar while preparing the beets. Add this mixture to the stalks just before adding the leaves. Season with sea salt and freshly ground pepper.


If you have not roasted beets before, I wrap them in foil drizzled with a little olive oil and roast in a 450° oven. The time will vary a lot based on the size of the beets -- it will take about 30 minutes for tiny beets and about an hour for larger ones. Be sure to make separate foil packets divided by size if your beets are in a wide range of sizes. To test for doneness just insert a paring knife into one of the beets - if it slips in easily they are done. Set aside until cool enough to handle, then using a paper towel wipe the beets to remove the skins. When roasted the skin will slide right off. 


p.s. I keep a box of powder free latex gloves in the house and they come in handy if you do not want stained fingers at dinner time.

Friday
Jul292011

making beads


When the kids are invited to a birthday party these days I head straight for the art supply store to buy a gift. Inevitably I end up buying things for our house as well. I am always attracted to the bright colors of sculpey clay so when I bought a box for a gift, I got a box for our family to play with as well. 


The clay is quite firm when first unwrapped, but as it warms up in your hands it becomes very pliable. I wanted to avoid having the kids just mix all the colors together into a big mess so I suggested that we choose 4 or 5 colors and leave the rest wrapped for another day. The clay keeps well in little ziploc bags, and only hardens in the oven, so this was more a matter of keeping some clean colors than preventing drying.


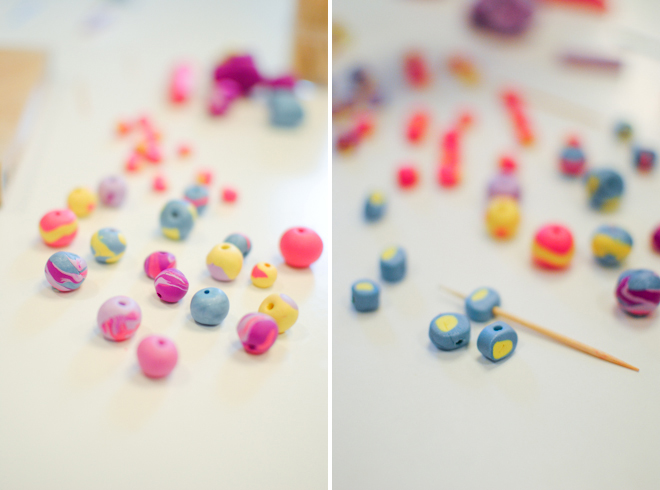
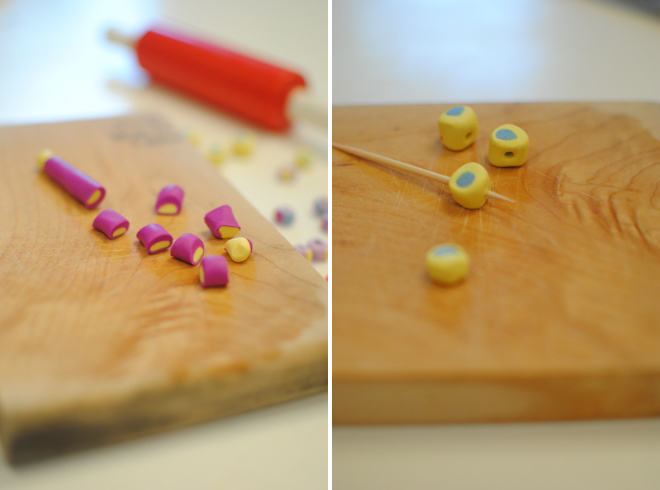
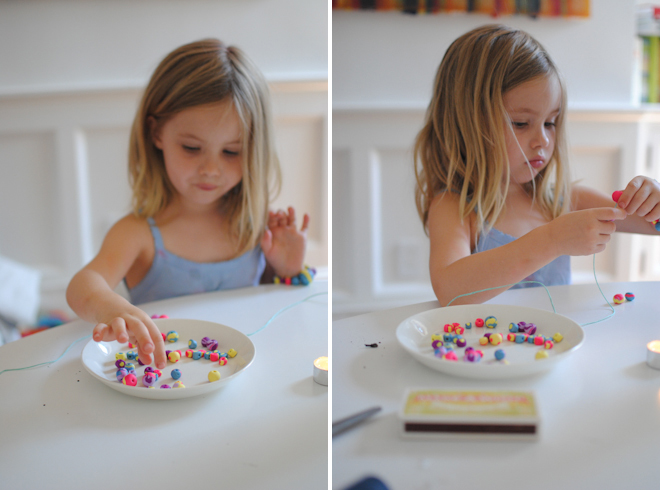
Bea and I decided to make beads for our first project. We started by rolling little balls, and then added some stripes and dots. A toothpick worked well for making the holes in the beads. Then we tried rolling "snakes" so we could cut them into disks for an alternate bead shape. These were also fun to embellish -- by adding little stripes down the sides we got cool graphic beads. We also made polka dot beads by wrapping a flattened piece around a tube and then slicing it. Bea loved making and cutting this type and was very pleased when the slices revealed nice patterns.


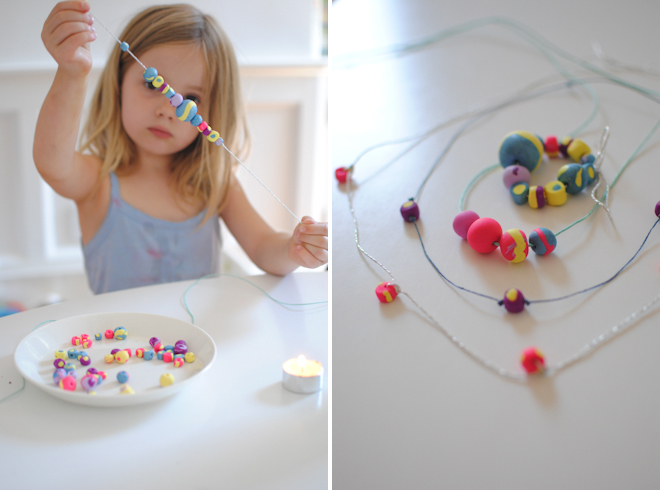
We baked our beads and let them cool and then got to work making jewelry. I pulled out some of options for string -- since the beads have fairly sizable holes we used wax coated cotton, a pretty silver twine, and some hemp -- all of which had been originally bought for gift wrapping. We found the ends frayed a little which made stringing harder. To solve that problem we lit a little tea light candle and dipped the ends in the melted wax...that worked well. 


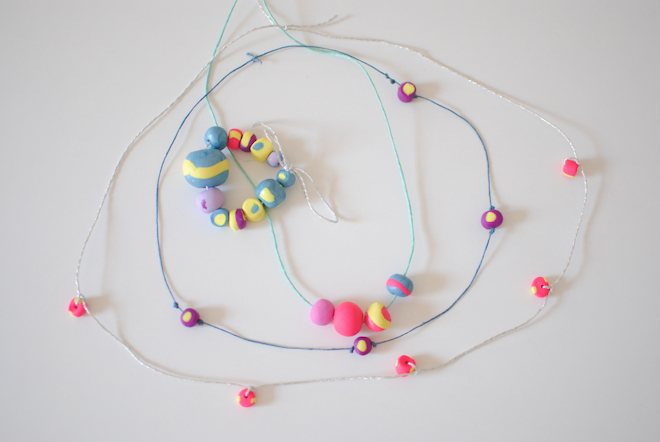
Bea and I approached the stringing differently: she opted to pile on the beads, often choosing the biggest most colorful ones. I opted to choose all one type of bead and space them out by tying each bead to the string at intervals of a few inches. I tried two different methods which you can see in the photo below. The purples and yellow beads were positioned on the blue waxed cotton by tying knots before and after each bead. The pink and yellow beads were tied into the silver string, resulting in a more whimsical look.


Thursday
Jul282011

mango flowers

Last weekend we found ourselves at Coney Island, despite the almost unbearable heat. The one thing that made us feel instantly better was this perfectly ripe, carved mango flower on a stick. 

Wednesday
Jul272011

fresh eggs


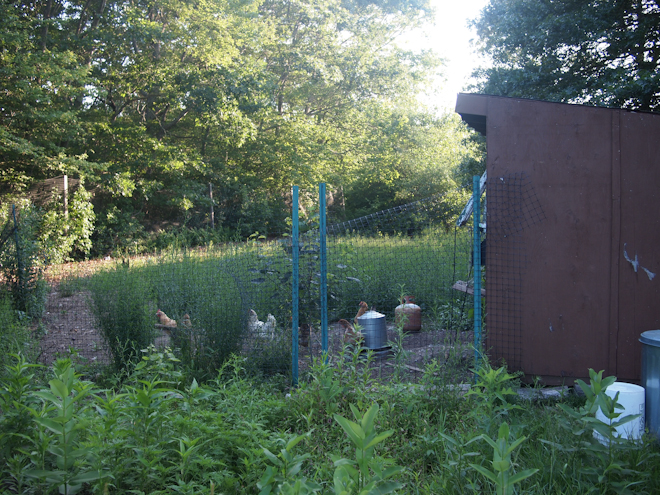
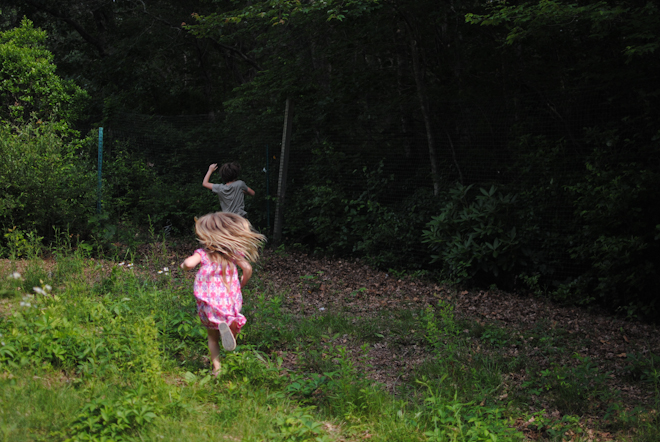
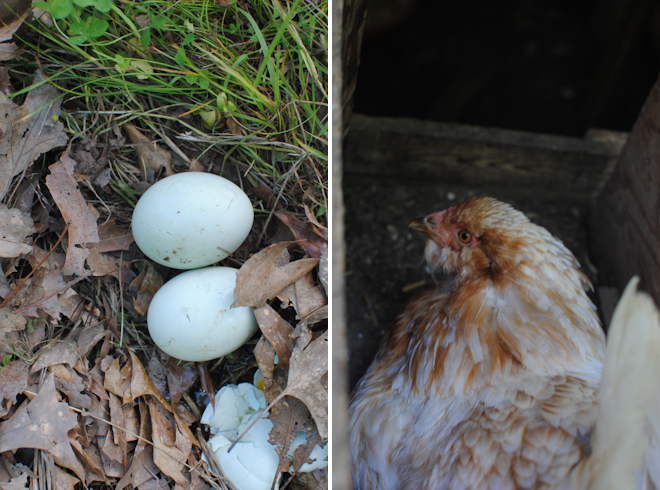
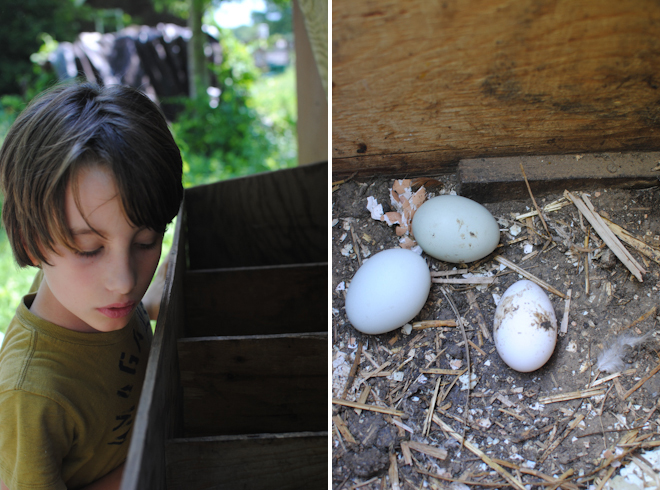
We are lucky enough to have several friends and family members who raise chickens for the pleasure of fresh eggs. Whenever we visit, the kids race to the chicken coop first thing. They love chasing the chickens and collecting the eggs. 


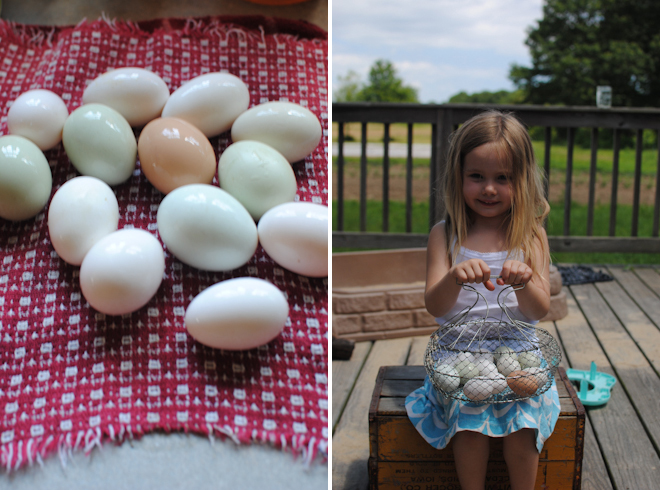
There is something very exciting (even for us adults) about finding the freshly laid eggs, and the beautiful blue green shells of the Araucana chickens are particularly hard to resist.  Keeping a batch of hard boiled eggs in the fridge is a great way of having a healthy snack or quick breakfast or lunch at the ready, and they pack well in kids lunch boxes too. 


Tuesday
Jul262011

The magic of reading

The boys are suddenly strong enough readers that they really enjoy getting lost in a book. Over the last few weekends there have been a number of times when I look around wondering where one of the kids has gone. Inevitably I find them reading! Whether it is Owen eagerly devouring one of the Harry Potter books, or Oliver smiling at a graphic novel or trying to solve one of the Hardy Boys mysteries, it brings a smile to my face every time. Finally the whine, "I'm bored..." is almost obsolete!

Monday
Jul252011

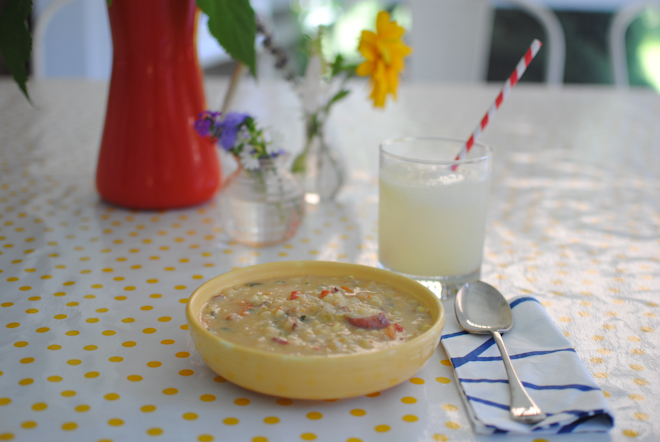
corn chowder


When corn is in season, bursting with flavor and sweetness, corn chowder is one of my favorite meals. This soup is hearty enough for dinner and can be varied easily. I use whatever potatoes are available at the farmstands...fingerlings, new potatoes, or whatever looks best. You can leave the skin on as long as you are not using a variety with tough skins, such as russets. You can also vary the flavor a lot depending on what herbs you add at the end. Basil really accentuates the summery flavors for me, while cilantro gives a bit of a southwestern taste. Try adding red pepper or some chilies too, if so inspired. Like so many good summer recipes, this is one to adjust to your own liking, based on whatever is best at the local market.


This recipe serves a crowd but you can certainly cut it in half. I like to make a big recipe whether we have guests of not. It is always nice to know you have another meal ready to go, and it freezes well if you want to save it for longer than a couple days.


CORN CHOWDER

10 ears corn, husked

1/2 pound bacon

1 large onion, diced

8 carrots, peeled and thinly sliced

6 stalks celery, thinly sliced

1 bay leaf

1 1/2 quarts new potatoes, scrubbed and cut into 1/2 inch dice (about 8 cups)

10 cups stock or water

2 cups milk

1 1/2 teaspoons salt (if you use water you will need more salt)

freshly ground pepper, to taste

3 tablespoons freshly chopped herbs such as parsley, cilantro, or basil


Cut corn from cob and set aside. Before discarding cobs scrape them with the dull edge of a knife to remove even more corn pulp. You should have about 6 cups of corn and pulp when you are done.


Cook bacon in a large skillwt over medium high heat, until browned and crispy. Remove from pan using a slotted spoon and set aside on a paper towel lined plate. Pour a couple tablespoons of the bacon fat into a large pot and return pot to the burner. Add onion, carrots, and celery and cook over medium heat until onions are translucent and carrots and celery are beginning to soften.


Add bay leaf, stock or water, and potatoes and bring to a boil. Reduce to a simmer and cook about 10 minutes, until potatoes are tender.


Add corn, milk, salt and pepper and cook about 4 minutes more, until corn is tender. Using an immersion blender, blend soup until the liquid is thick but not pureed - there should still be plenty of visible potato chunks and corn kernels. If you do not have an immersion blender you can ladle a few cups of the soup into a blender, puree, and return to the pot.


Stir in fresh herbs and reserved bacon. Adjust seasoning if needed before serving.

Friday
Jul222011

construction kids


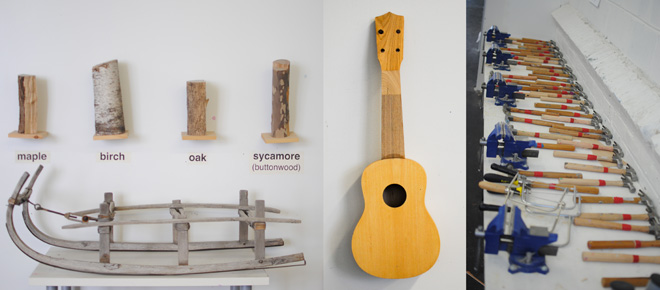
Last week my boys had a fabulous week at a very special camp called Construction Kids here in Brooklyn. The boys had celebrated their 8th birthday there and I fell in love with the place then--so did the kids. The space is very inspiring, with beautifully organized tools and materials (above), as well as many examples of work done by the children. Deb Winsor runs the classes in a way that allows the children endless creative freedom but with very strict supervision to ensure their safety.


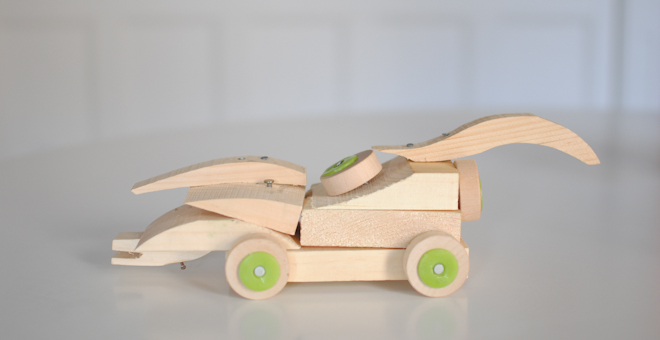
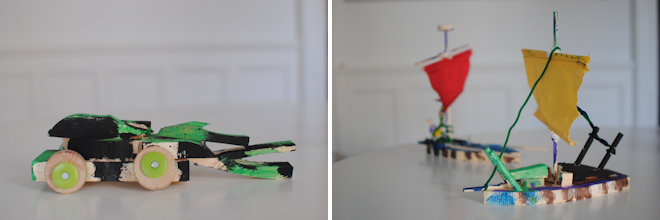
The camp has different themes each week and ours was "vehicle week". The boys were prolific and I really loved seeing all the things they made and the pride they took in their work. The enormous bin of vehicles they made is an obvious reminder of just how much they enjoyed it. I will admit that the idea of them using power tools, or even simple hammer and nails, was a little nervous making, but I am definitely in the parenting camp that believes with proper instruction and supervision that kids can do things that may be perceived as dangerous, and that in a lot of cases learning the skills at an early age teaches a respect for being careful...that maybe it even makes children feel more responsible and therefore behave more responsibly.  


If you are interested in other places like Construction Kids this article from the New York Times included other building programs for children around the country. 

Wednesday
Jul202011

shaved zucchini salad


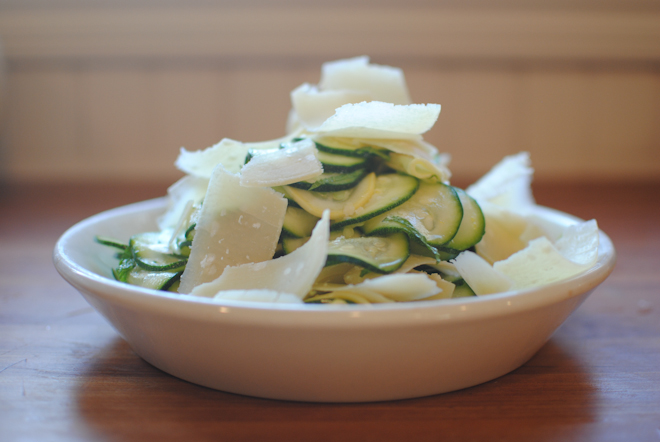
Last summer my favorite lunch spot Al Di La had a delicious zucchini salad on its menu - it consisted on ribbons of raw zucchini that had been dressed with a lemony dressing and some parmesan cheese. This recipe was inspired by that salad.


Very thinly slice 3 zucchini -- this is easiest with a mandolin, but can be done by hand. You can also use a vegetable peeler and make long ribbons if you prefer. Sprinkle the zucchini with some kosher salt and set in a colander to drain for about 10-15 minutes. This removes some of the moisture from the zucchini and gives it a great soft texture. Rinse under cold water to remove excess salt and dry on a layer of paper towel. Transfer to a bowl and squeeze the juice of a lemon or 2 over the zucchini. Drizzle with a little extra virgin olive oil (not much is needed at all), add julienned mint leaves from a sprig or two of mint, and toss to combine. Taste and season with a pinch more salt if desired. Using a vegetable peeler slice big curls of parmesan from a hunk of cheese. Layer zucchini and parmesan on a plate and serve.

Tuesday
Jul192011

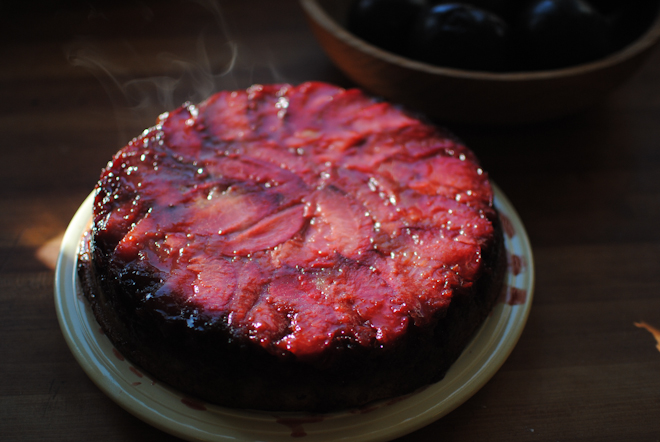
plum upside down cake


Lauren made this plum upside down cake for a recent dinner party with our visiting relatives. The recipe is from one of the early issues of Everyday Food and has been a favorite in our family ever since. The allspice is a perfect compliment to the plums and the cake has a nice crumb...try it, I think you will love it too!